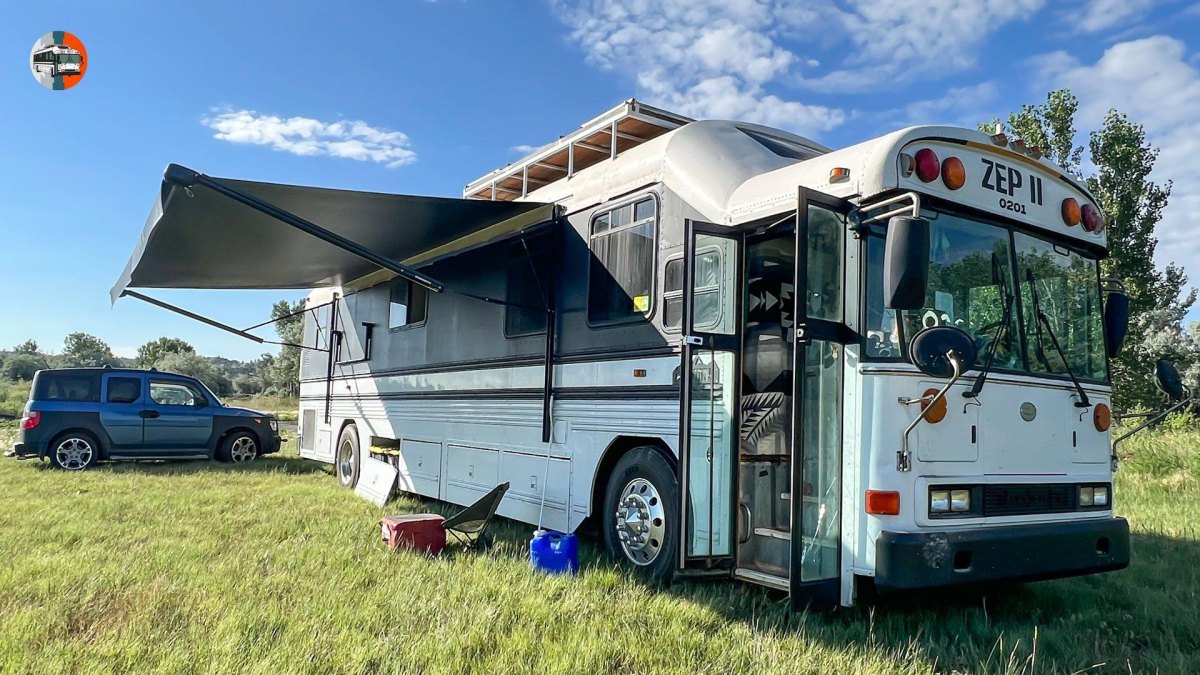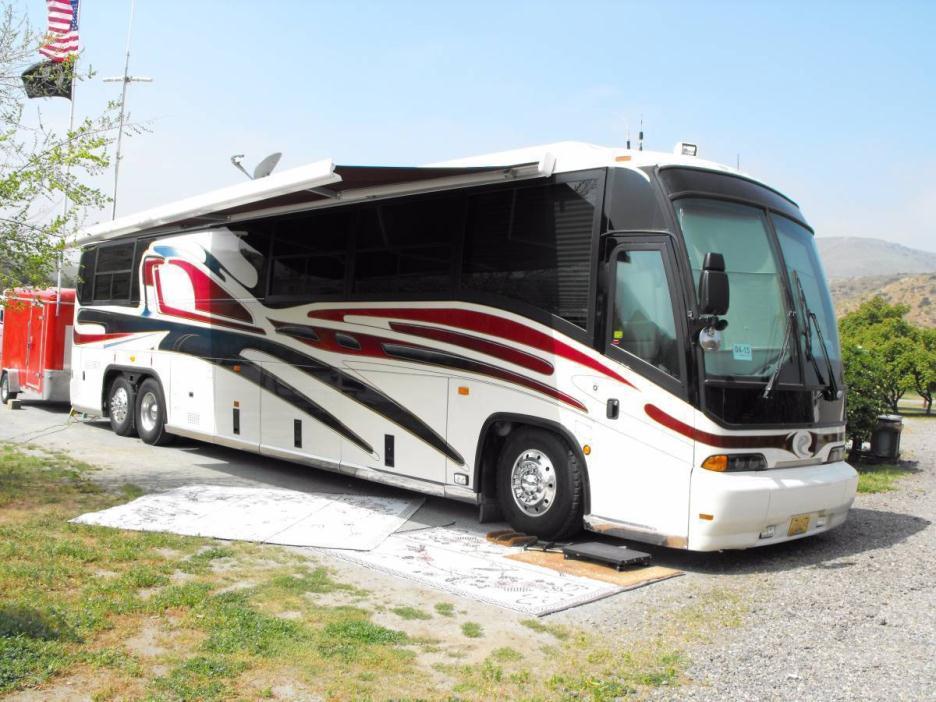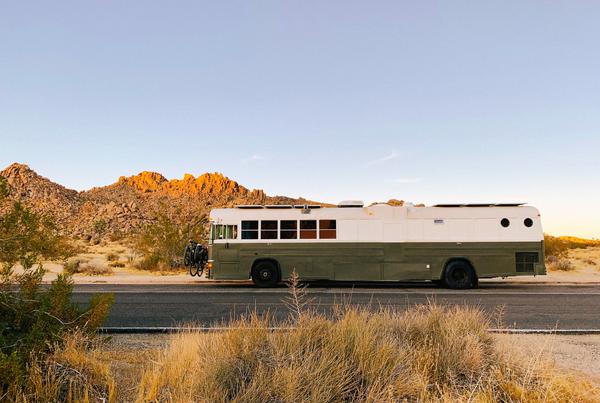
A school bus conversion looks simple from the outside, but turning a metal shell into a comfortable home takes careful planning. I have spent years looking at how people move and live in unusual spaces, and the same lesson keeps appearing: good preparation saves money.
This guide follows the build order I would use, from choosing the bus to creating a finished tiny home. I focus on practical choices, because a beautiful interior is not much use if the systems behind the walls are difficult to repair.
Planning Your School Bus Conversion Layout
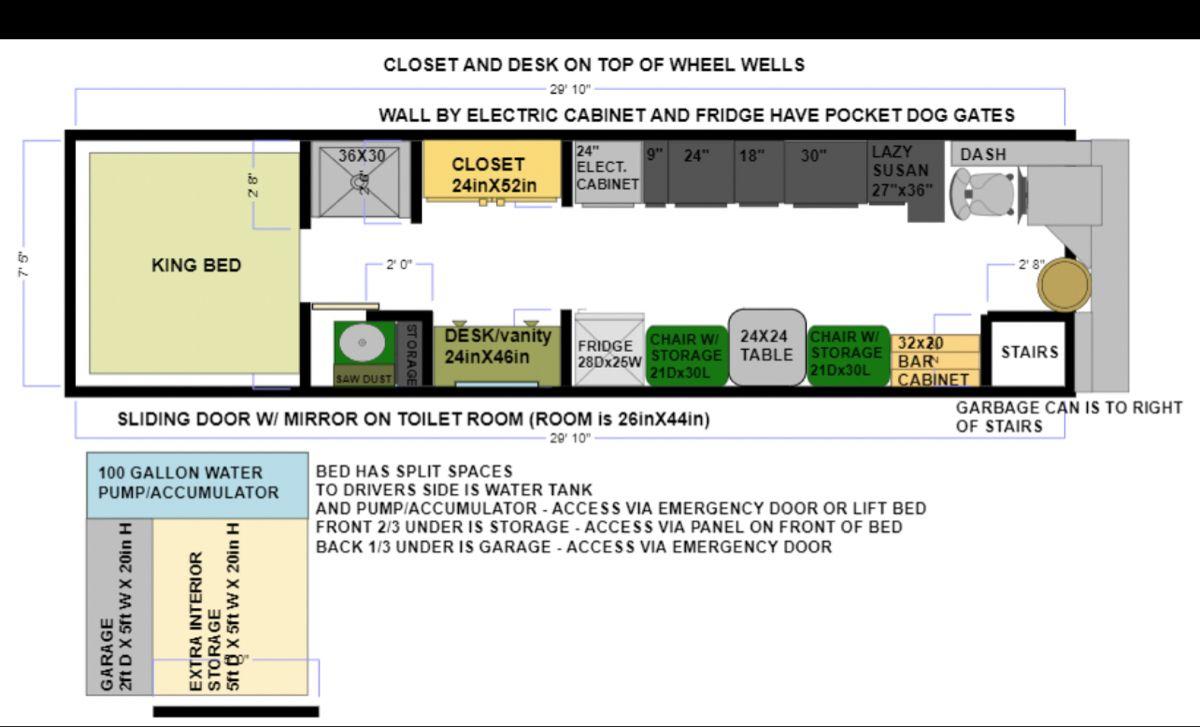
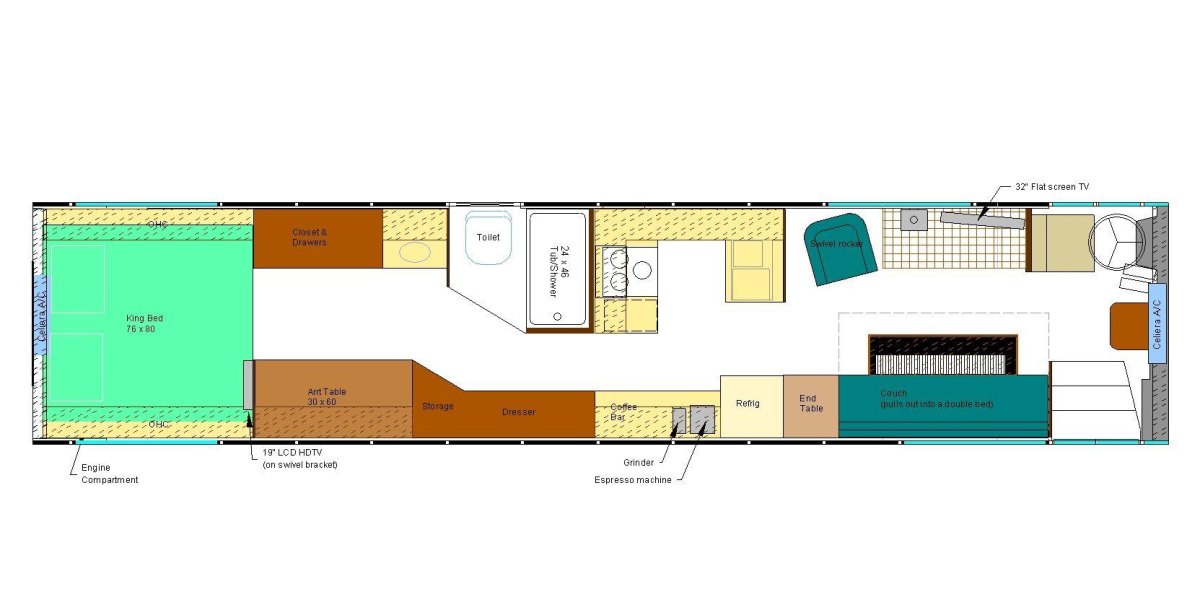
I start every bus project with a drawing, not a drill. A realistic floor plan helps decide where beds, water tanks, appliances, and storage can fit before expensive mistakes happen.
I would mark fixed items first, then leave walking space and access points. A bus conversion rewards careful measurements more than rushed construction.
My planning checklist
- Measure the bus interior before buying materials.
- Plan weight distribution early.
- Leave access for repairs.
Choosing the Right School Bus for Conversion
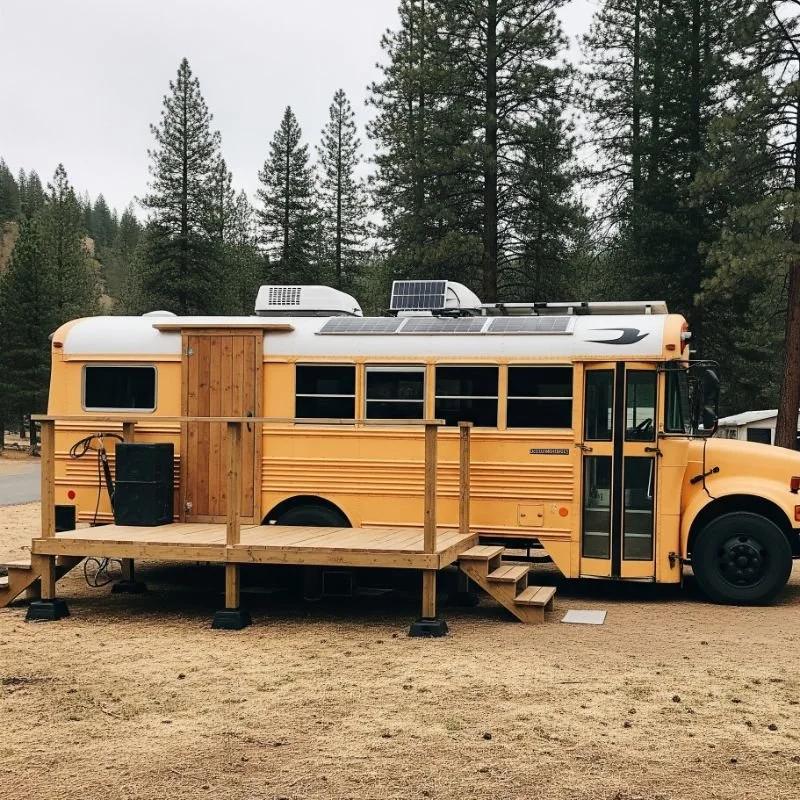
The bus itself is the foundation of the project. I would inspect the engine, rust, maintenance records, and body condition before thinking about paint or furniture. A cheap bus can become an expensive lesson.
The best choice depends on how you travel. A shorter bus is easier to park, while a longer model offers more room for a full tiny home layout.
Advantages
- Large interior space.
- Strong vehicle frames.
Challenges
- Higher fuel costs.
- More complex repairs.
Removing Seats and Preparing the Bus Interior
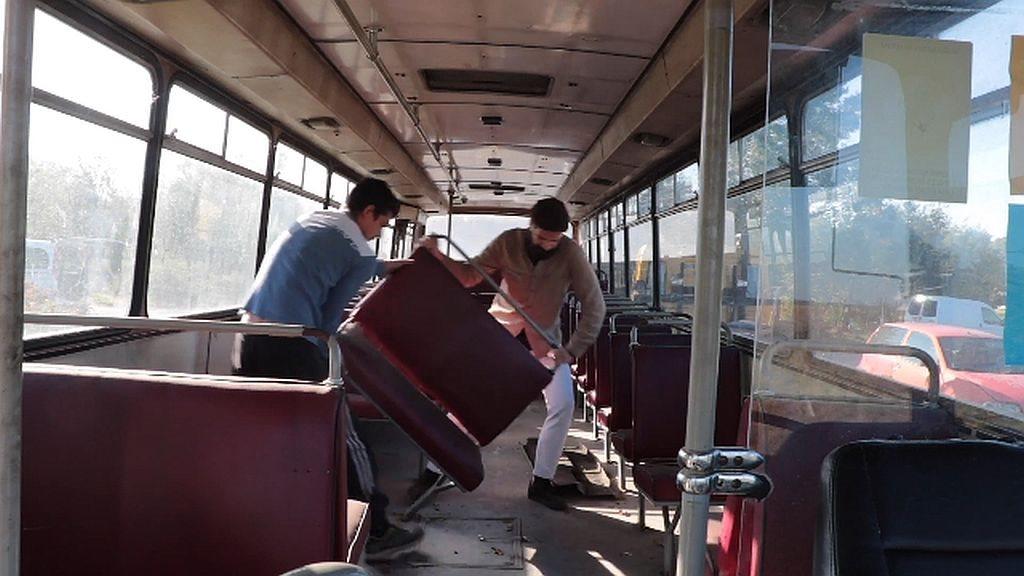
Seat removal is usually the first dramatic change. I would treat this stage as demolition, not decoration, because hidden rust, damaged flooring, and old fittings become visible.
After removing the seats, I clean the shell carefully and prepare the surface for the next stages. This is where the bus starts becoming a blank living space.
Safety note
Wear protection when cutting bolts or handling old materials, and check local rules before modifying vehicle registration or use.
Insulating the School Bus Walls and Ceiling
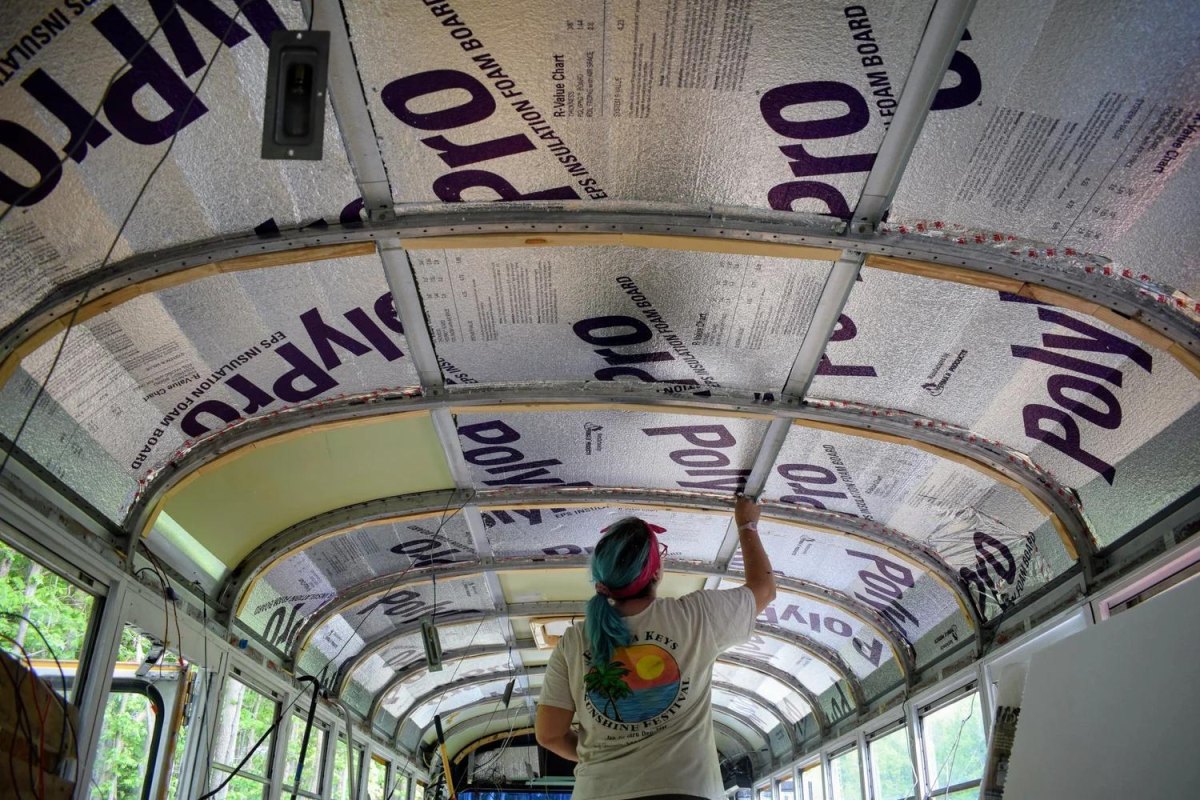
Metal buses heat and cool quickly, so insulation is one of the jobs I would never rush. Good thermal insulation layers improve comfort in both summer and winter.
I would insulate walls, ceiling, and floor before closing everything with finished panels. It is the kind of work you only want to do once.
- Remove. Strip old materials and inspect surfaces.
- Install. Add suitable insulation for your climate.
- Seal. Close gaps before finishing walls.
Installing Electrical Systems and Solar Power
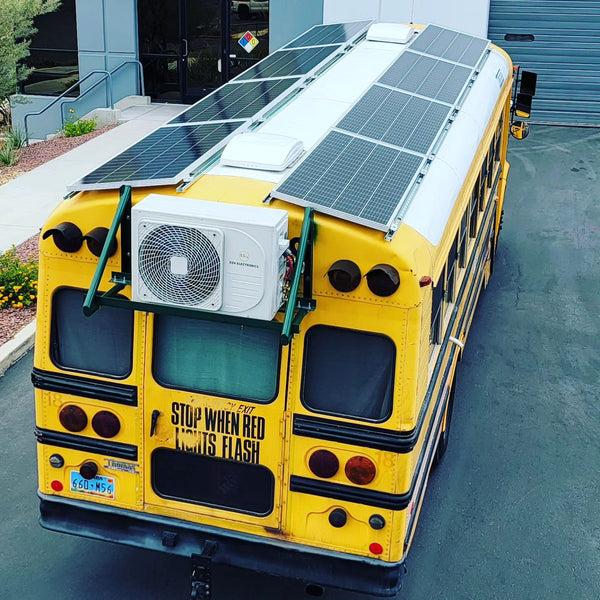
A comfortable bus needs dependable power. I would design the electrical system around actual daily use rather than adding random equipment. A solar power setup can support lighting, refrigeration, and electronics when correctly sized.
Battery location, cable lengths, and future repairs all matter. The neatest system is the one you can understand months later.
| System | Purpose |
|---|---|
| Solar panels | Generate energy |
| Batteries | Store power |
Building the Interior Framework and Storage
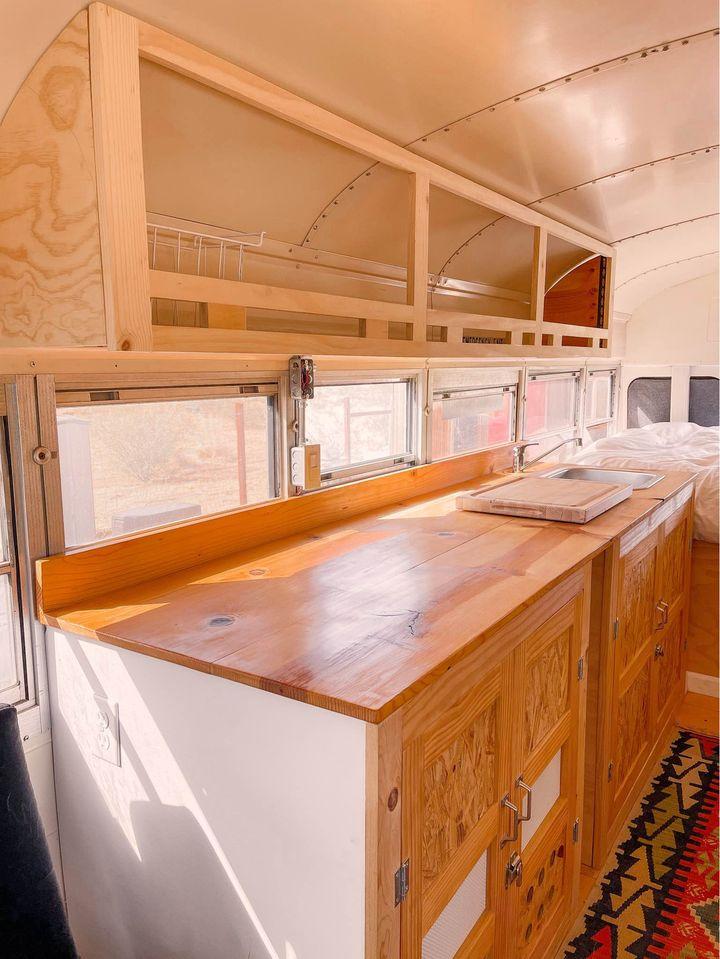
Once the shell is ready, framing creates the structure of the home. I like simple storage solutions because every cupboard and drawer has to earn its space.
Light materials and smart layouts help avoid unnecessary weight. I would build around daily habits rather than copying someone else's design.
Designing the Kitchen Area in a School Bus
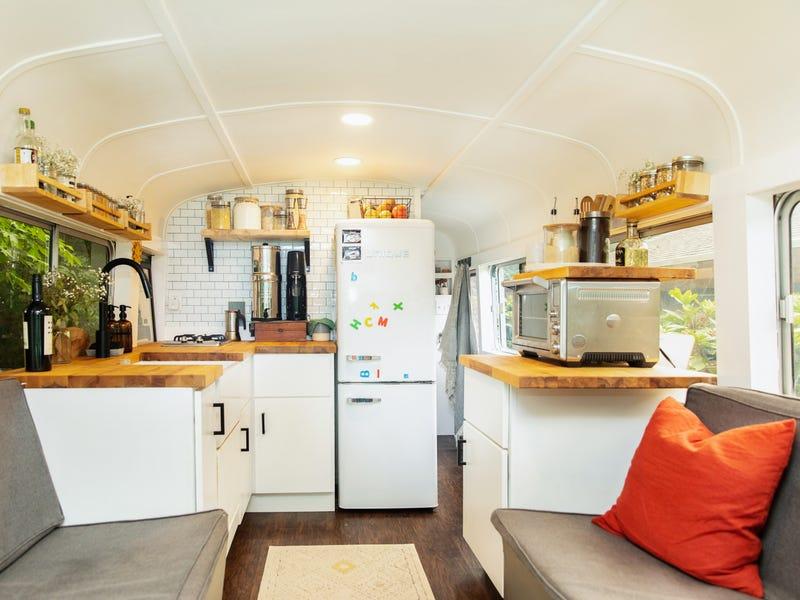
A bus kitchen is a small puzzle. I would prioritise the essentials: food preparation, refrigeration, water access, and enough storage for the way I actually cook.
The best tiny kitchen design is not the largest one; it is the one that stays practical after months of use.
- Counter space: Keep enough room for daily preparation.
- Storage: Use vertical areas whenever possible.
Creating a Comfortable Sleeping Space
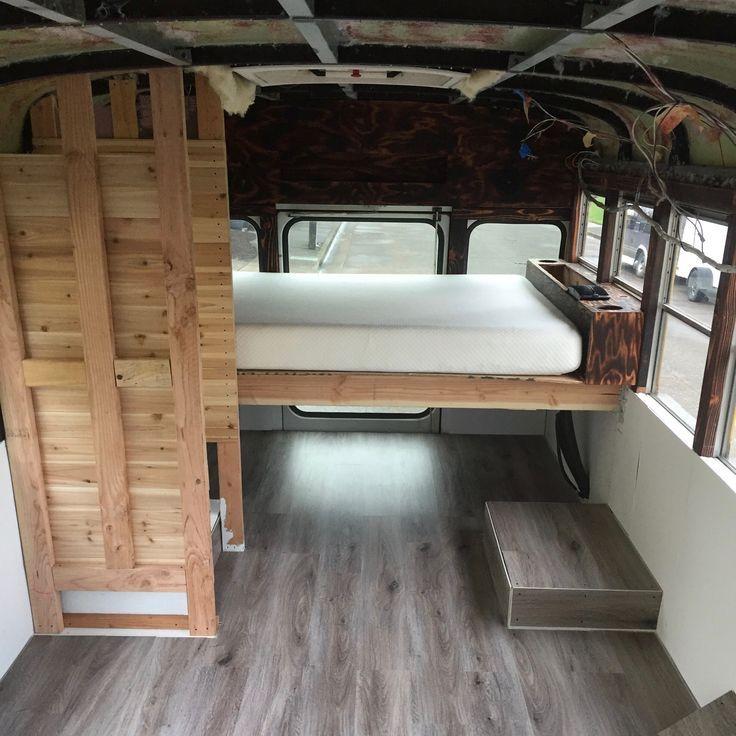
A good bed changes the entire experience. I would build the sleeping area around comfort first because poor rest makes even beautiful travel tiring.
Storage underneath a raised sleeping platform can be useful, but access matters. A clever idea is not clever if it becomes annoying every morning.
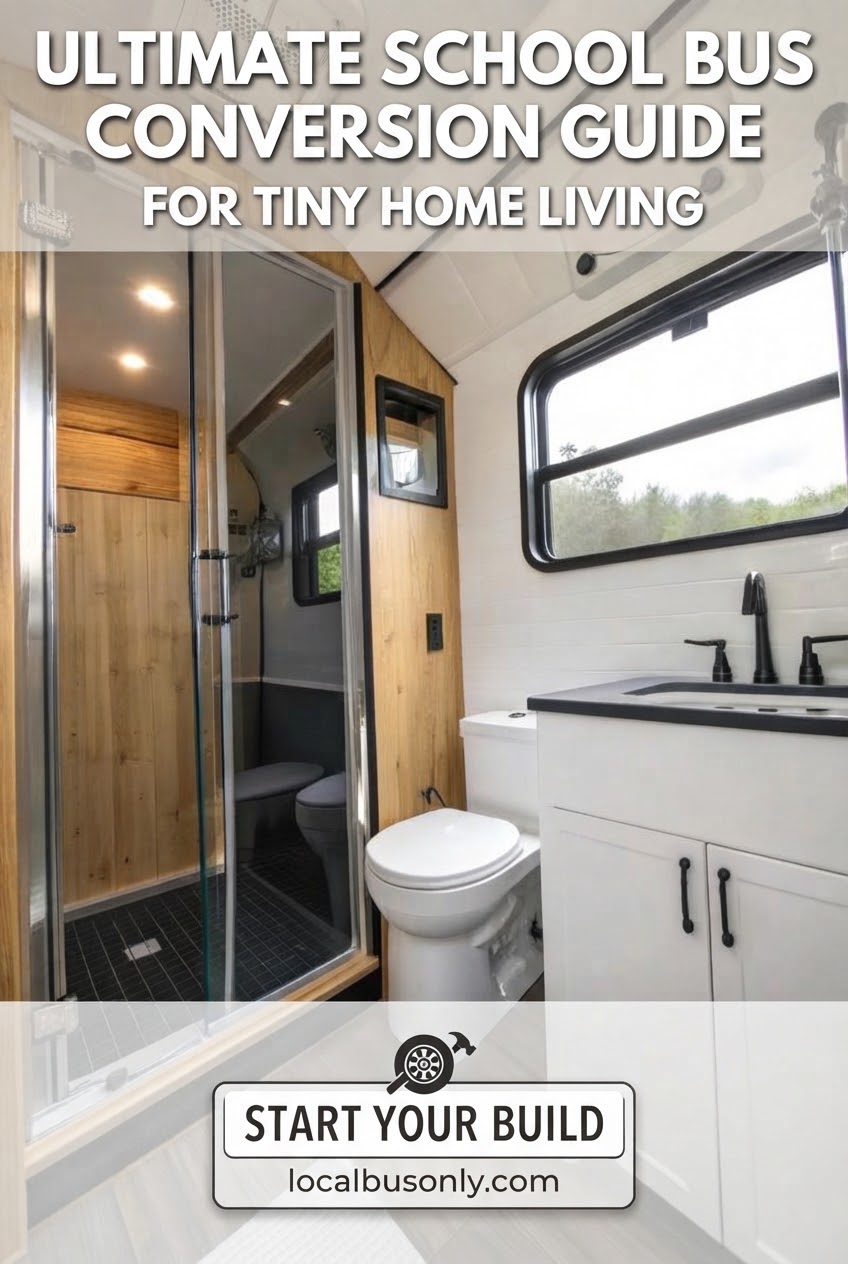
Adding a Bathroom and Plumbing System
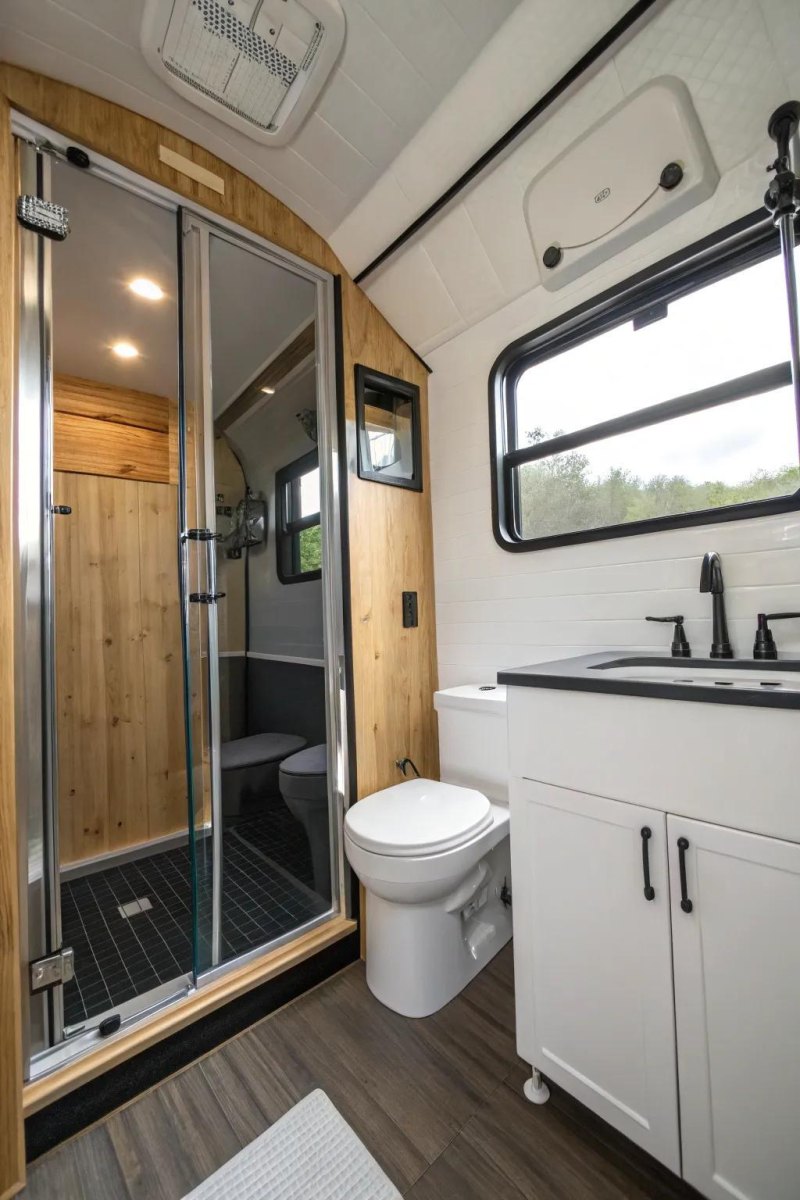
Bathrooms add complexity because water systems need careful planning. I would map every tank, pipe, and access point before building walls around them.
A reliable bus plumbing system is about maintenance as much as installation. Future repairs should be possible without dismantling the whole interior.
Useful tip
Label hidden pipes and wires before covering them. Your future self will appreciate it.
Installing Windows, Ventilation, and Climate Control
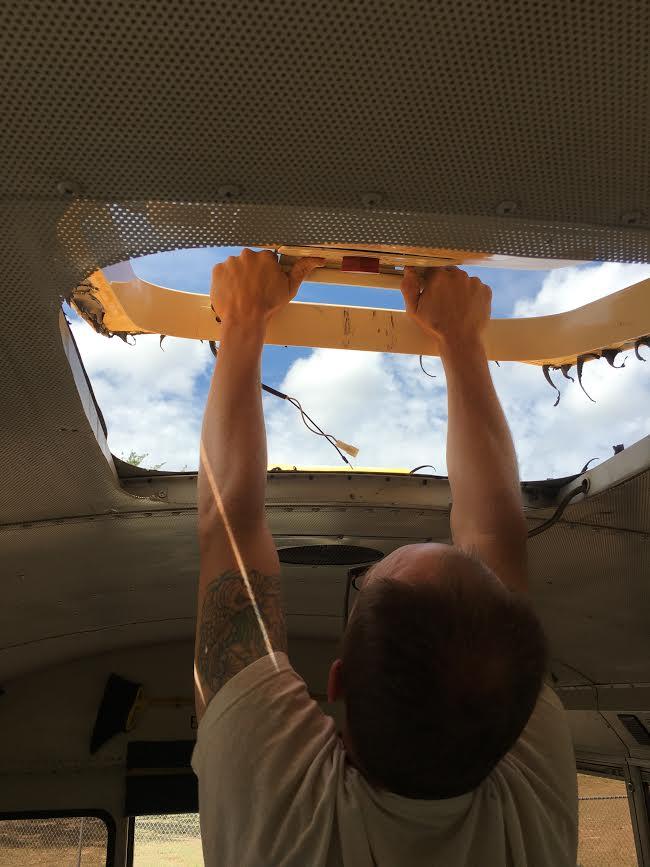
Fresh air is not optional in a small home. I would plan ventilation before finishing the ceiling because air circulation matters every day.
Fans, windows, heating, and cooling choices depend on climate. A bus travelling through different regions needs flexible solutions.
Creating a Functional Living and Lounge Area
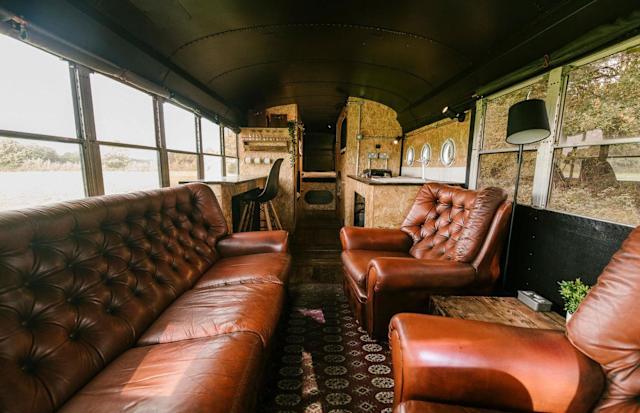
The living area is where the conversion starts feeling like home. I prefer flexible furniture because a multi-use space works better in a small footprint.
A seat that becomes storage or a table that serves several purposes can make the bus much easier to live in.
Small-space lesson
Every item should have a job, and ideally more than one.
Painting and Exterior Upgrades for a Converted Bus
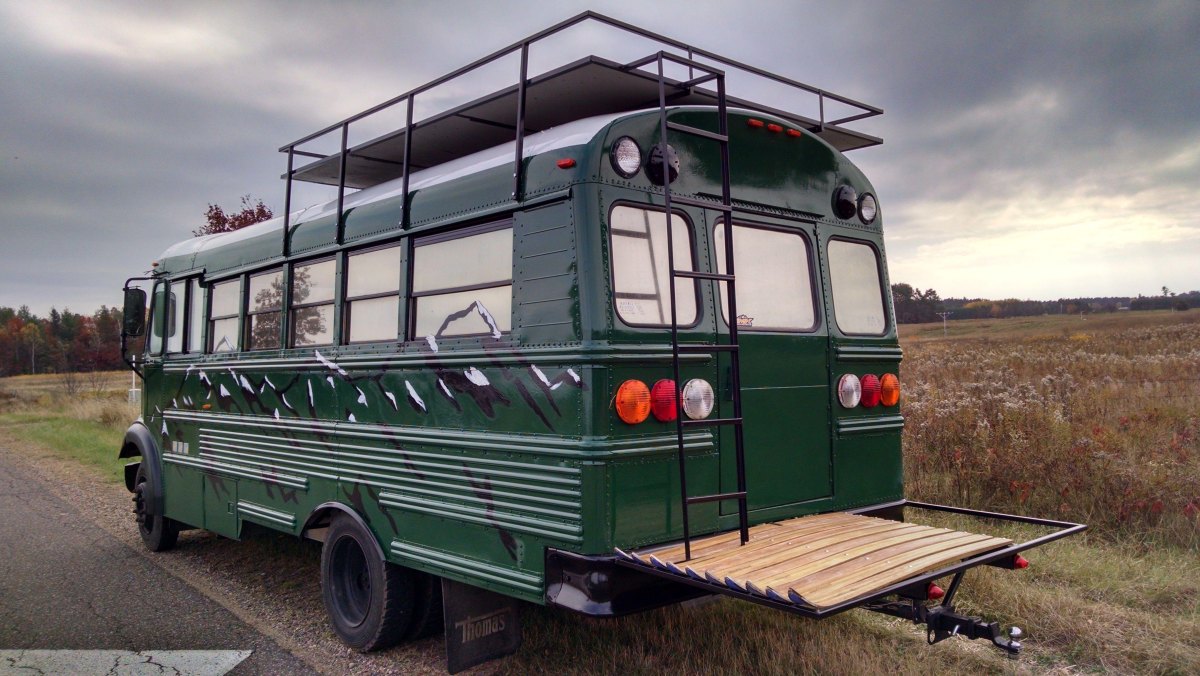
Exterior work changes the personality of a bus, but I would fix mechanical and sealing issues first. Paint is exciting; waterproofing is practical.
A durable finish and careful exterior maintenance plan protect the work already completed inside.
Making the Bus Conversion Off-Grid Ready
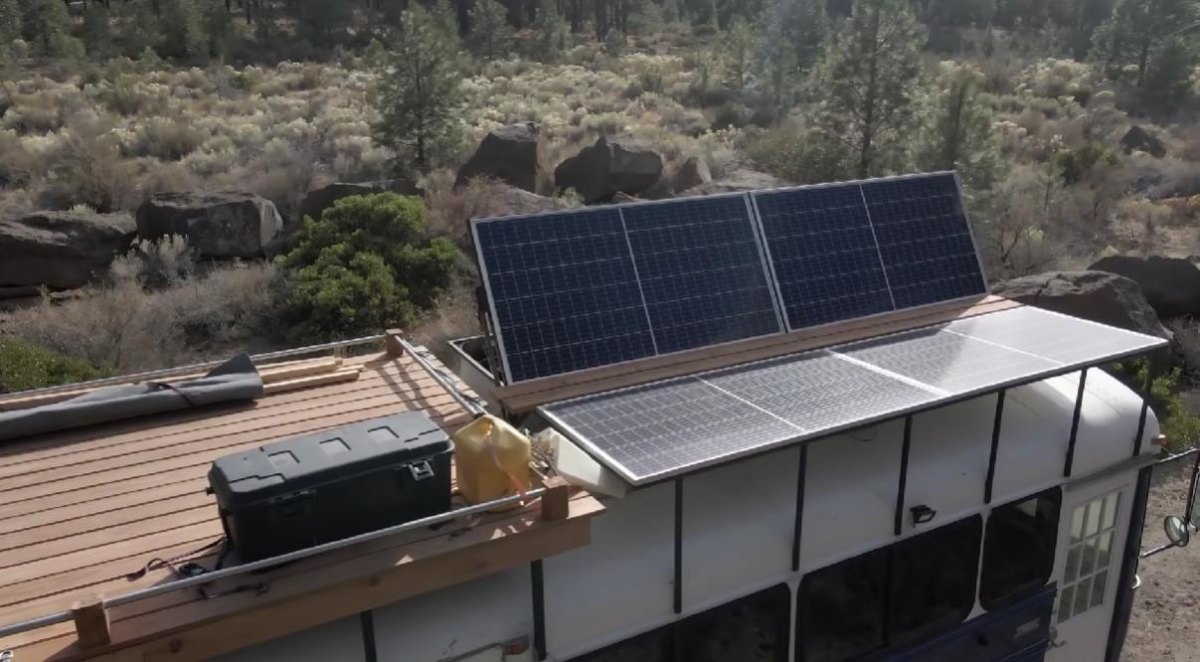
Off-grid living requires planning, not just adding solar panels. I would balance energy production, water storage, and realistic consumption habits.
The goal of an off-grid bus setup is independence without creating a system that is difficult to manage.
- Size power systems for real usage.
- Plan water capacity carefully.
- Keep emergency backups available.
Decorating and Personalizing the School Bus Interior
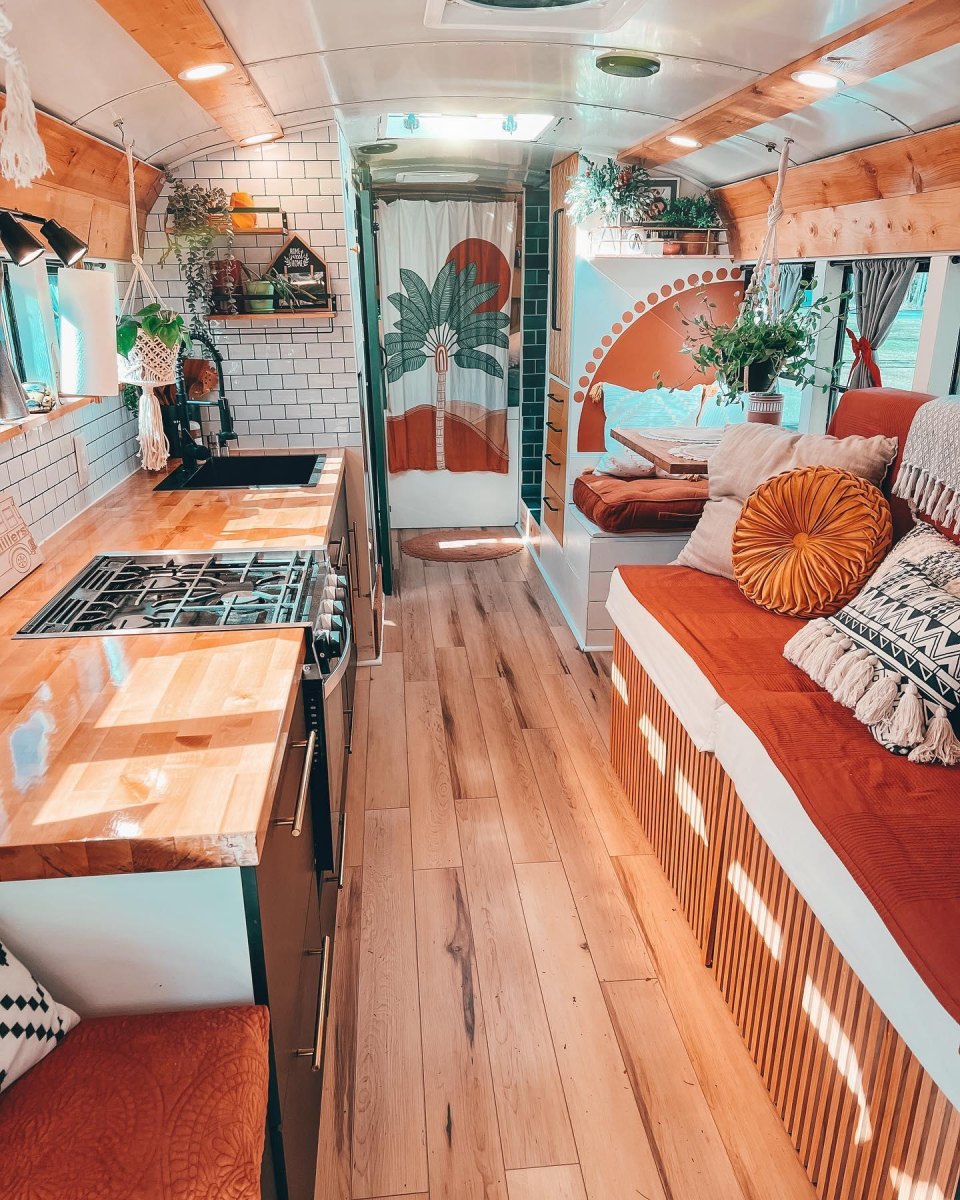
The finishing touches are where a conversion becomes personal. I would choose decoration after the practical systems are complete because function comes first.
Photos, textiles, colours, and small details can make a bus feel welcoming without adding unnecessary clutter.
Maintaining and Traveling With Your Converted School Bus

A finished conversion still needs regular attention. I keep a simple maintenance routine because a home on wheels experiences vibration, weather, and long journeys.
Before longer trips, I check fluids, tyres, fasteners, and systems. A little preparation keeps a converted bus adventure enjoyable instead of stressful.
Small repairs done early are usually cheaper than big repairs done late.
Marnie's travel notebook