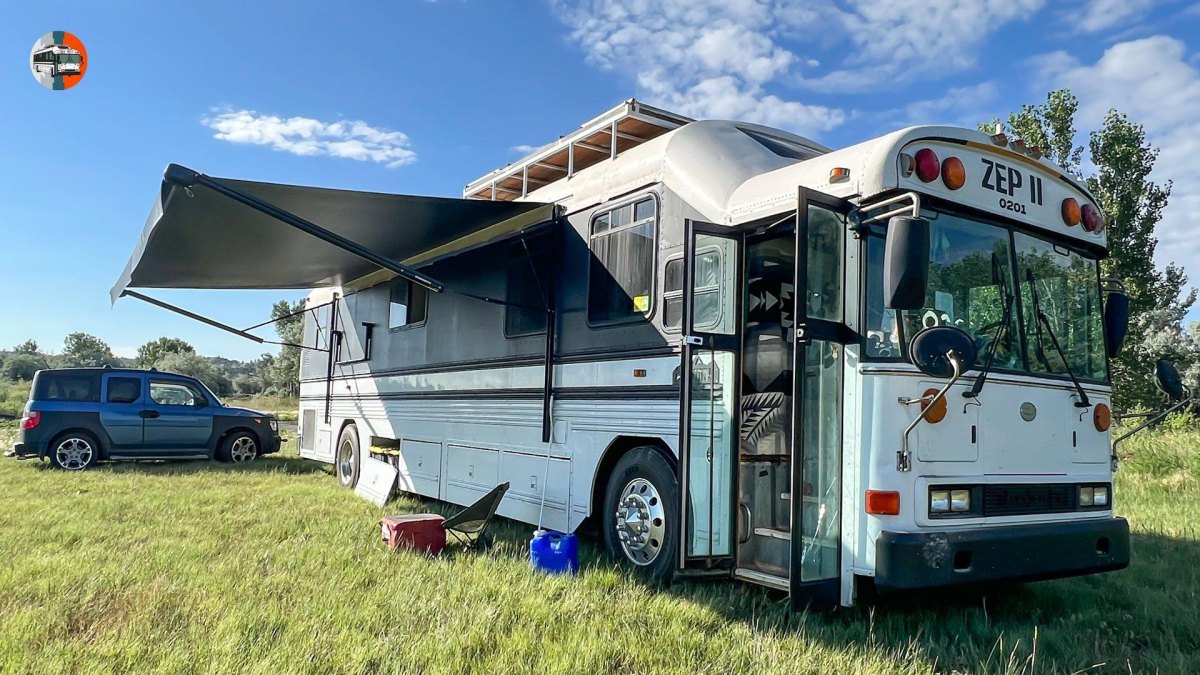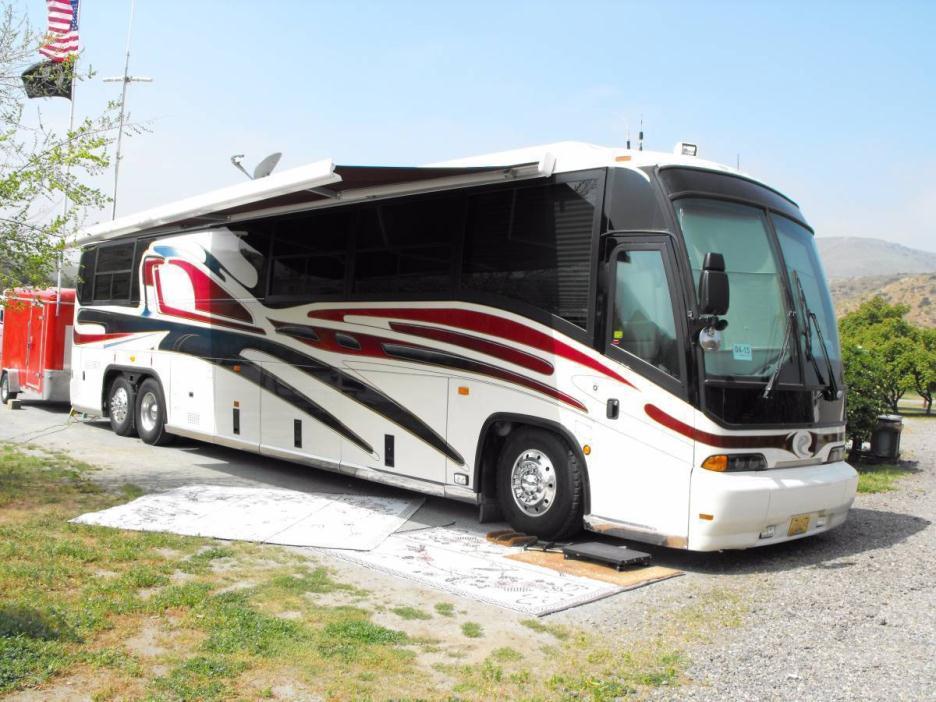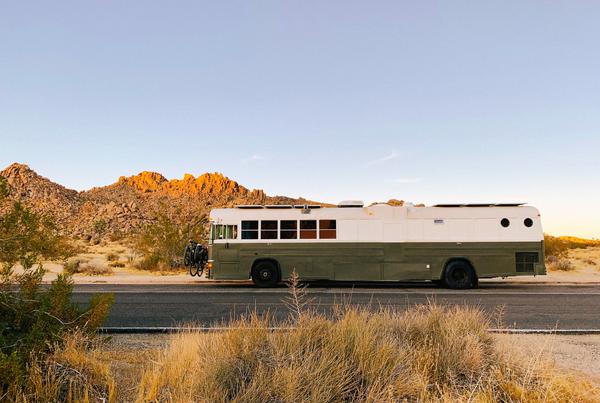
Turning an old bus into a home on wheels looks simple from the outside, but the work is really a chain of careful decisions. I have seen enough travel projects to know that the best builds start with a realistic plan, not a shopping list.
I put this guide together around the order I would follow for a bus-to-RV conversion, from empty shell to finished camper. The goal is a practical vehicle that feels comfortable on the road and does not create problems later.
Planning Your Bus-to-RV Conversion Layout
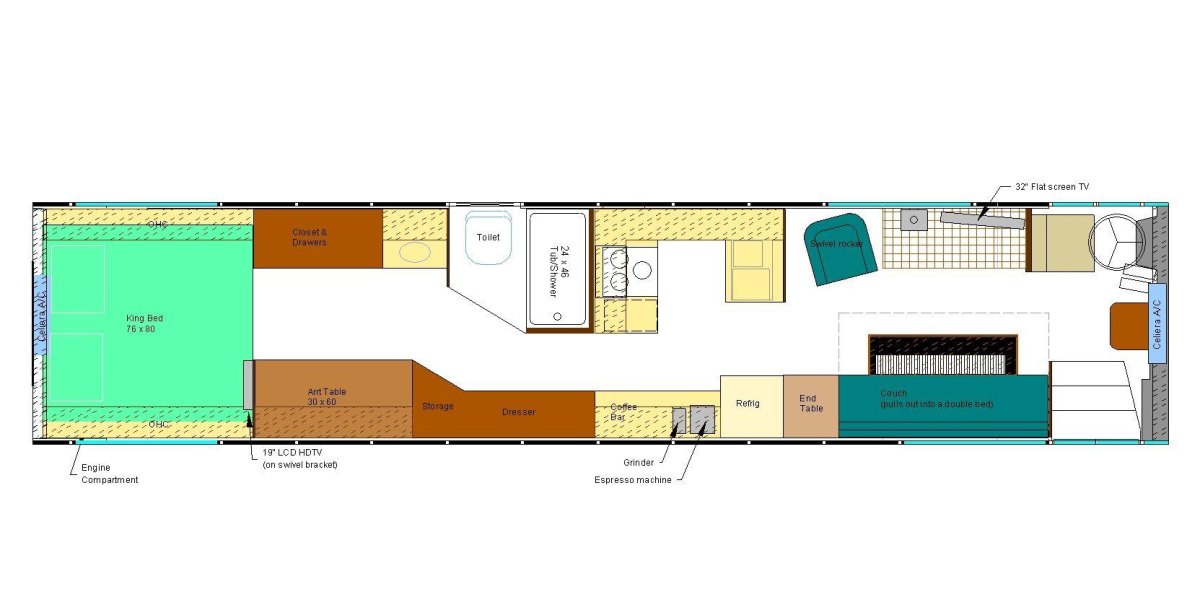
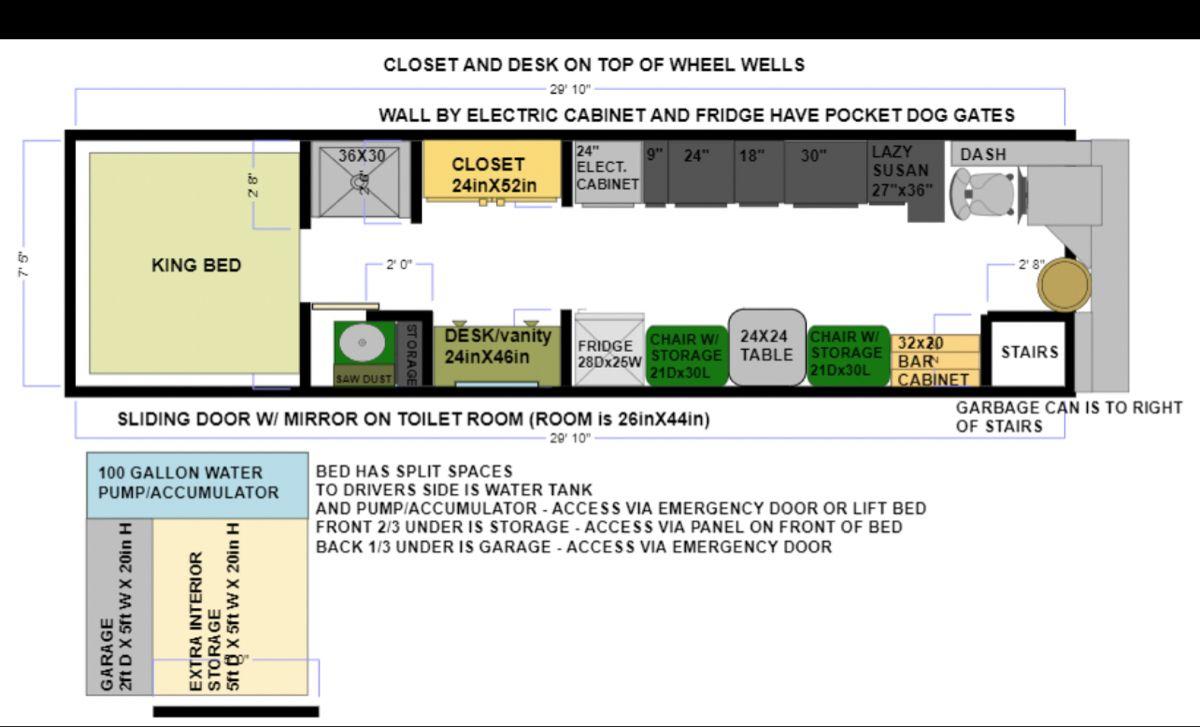
Before removing a single panel, I would draw the layout and decide how the bus will actually be used. A weekend camper needs a different setup from a full-time travel rig, and every cabinet, tank, and appliance competes for limited space.
My planning priorities
- Measure the interior before buying materials.
- Reserve space for storage, utilities, and maintenance access.
- Check weight limits before adding heavy equipment.
I always start with the floor plan and weight balance because changing those later usually means rebuilding expensive sections.
Removing Bus Seats and Preparing the Interior
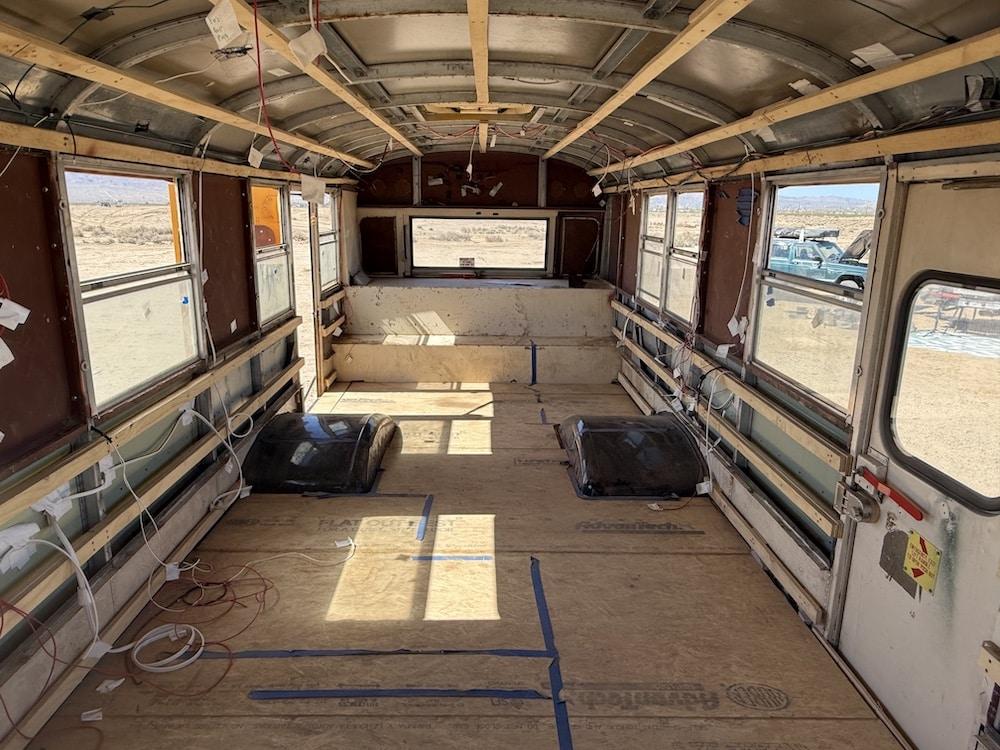
The first physical stage is turning a passenger bus into a blank workspace. Removing seats, cleaning the floor, and checking the metal structure gives me a clear picture of what can be built.
- Remove. Take out seats, old fixtures, and unnecessary interior panels carefully.
- Inspect. Look for rust, leaks, damaged flooring, and areas needing repair.
- Prepare. Clean and protect the shell before adding new materials.
A common conversion mistake is rushing into construction before fixing hidden issues underneath the original interior.
Watch for hidden problems
Water leaks and corrosion are much easier to repair before insulation and walls cover them.
Installing Electrical and Plumbing Systems
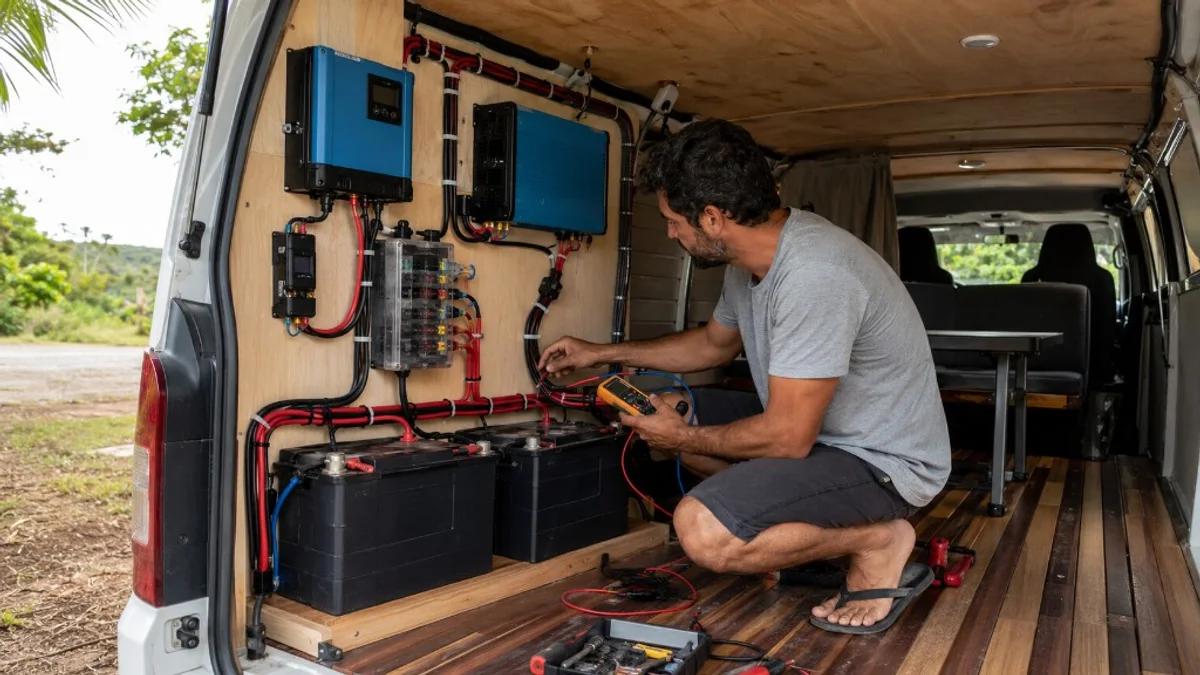
The utility systems are where a bus conversion becomes a real RV. I would map every wire and water line before installing walls because access becomes difficult later.
| System | Main considerations |
|---|---|
| Electrical | Battery capacity, charging sources, fuses, and safe wiring routes. |
| Plumbing | Fresh water, wastewater, pumps, and winter protection. |
Modern builds often combine 12-volt power systems with solar, shore charging, and inverters depending on travel needs.
My practical tip
Label every cable and pipe before covering them. Future repairs are much faster when you know what runs where.
Building the RV Kitchen, Bedroom, and Living Space
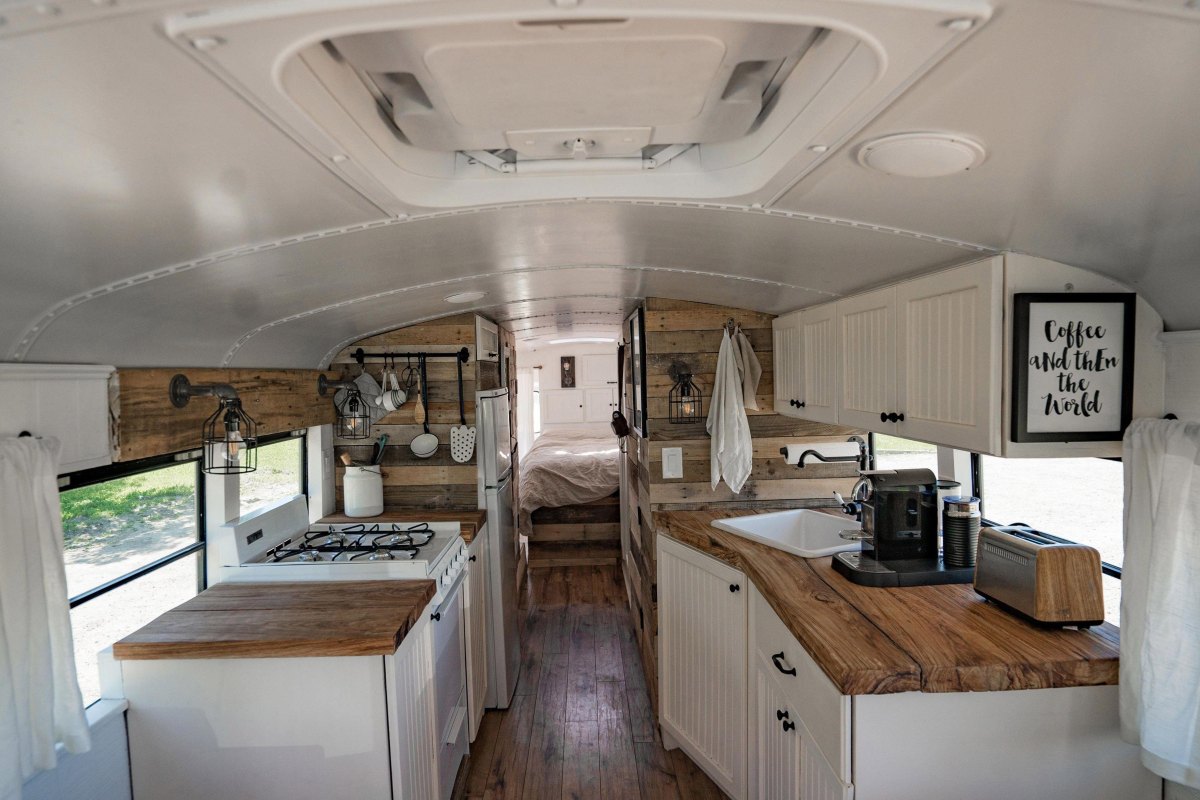
This is the stage where the bus starts feeling like a home. I like to build the large features first: bed platform, kitchen area, seating, and storage.
- Kitchen: Keep appliances practical and leave enough counter space for daily use.
- Bedroom: Make the sleeping area comfortable before adding decorative features.
- Storage: Use vertical space because floor area disappears quickly.
The best RV interior design is not the one with the most furniture; it is the one that still works after weeks on the road.
Advantages
- Everything can be customized.
- Storage can match your travel style.
Challenges
- Small mistakes affect daily comfort.
- Heavy materials reduce available payload.
Adding Insulation, Walls, and Interior Finishing
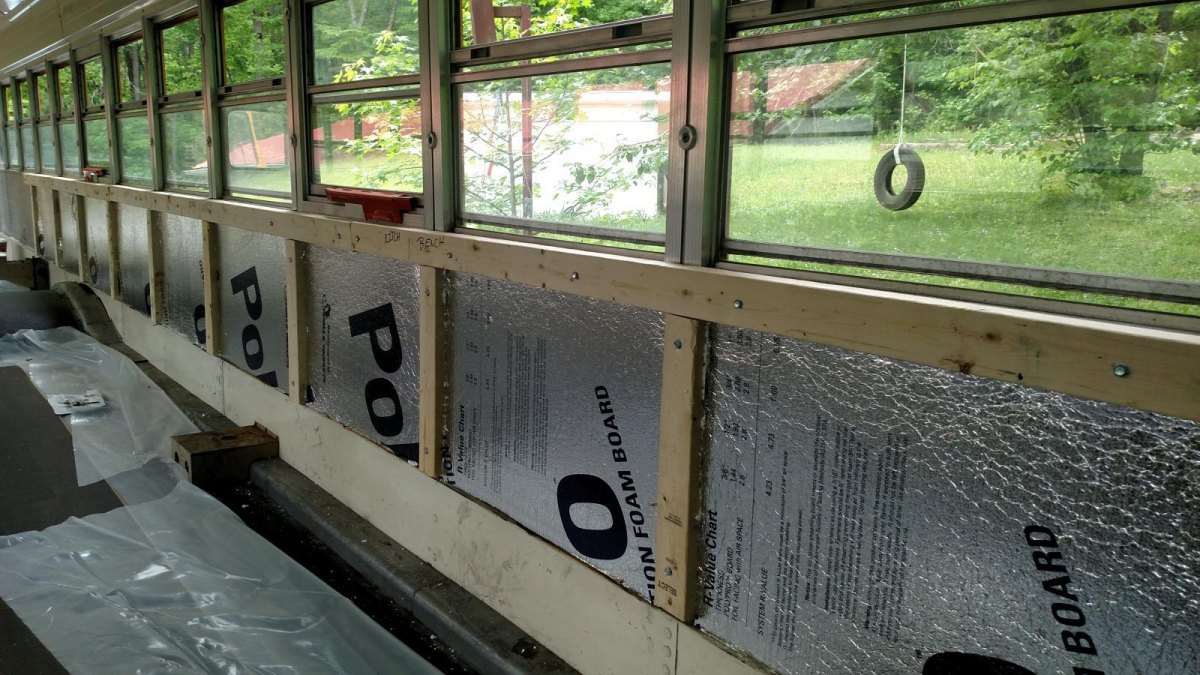
A bus is mostly metal, which means temperature control deserves serious attention. I would not skip insulation just to save time because heat, cold, and condensation will eventually become daily problems.
- Seal gaps before installing wall panels.
- Choose lightweight materials where possible.
- Leave access points for important systems.
The finishing stage is where the comfortable RV cabin comes together, but it still needs to be practical enough for road movement.
A mistake I would avoid
Beautiful finishes are not worth much if they block access to wiring, plumbing, or mechanical areas.
Completing Exterior Upgrades and Final RV Features
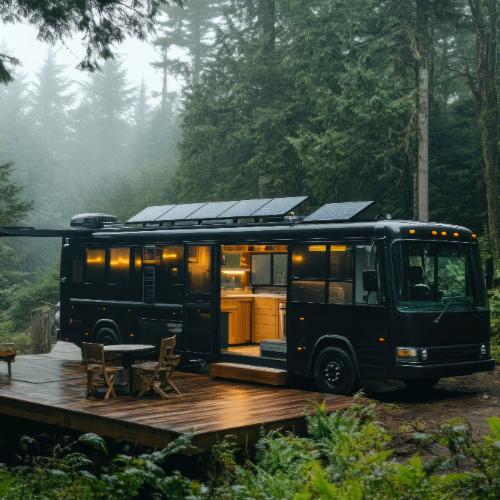
The final stage is about making the bus ready for real travel. I would check the exterior, test every system, and confirm that the finished vehicle still handles safely.
1 final check
before every long trip: inspect weight, systems, and safety equipment
Exterior additions such as storage, solar panels, vents, and awnings should support travel rather than overload the vehicle. RV standards also focus on areas such as safety, electrical, plumbing, and fire protection, so local rules are worth checking before registration.
A reliable conversion is built around careful choices, not just creative ideas.
Marnie Doyle
I would take a short test trip before planning a long adventure. A few nights parked nearby usually reveal the small fixes that matter most.