Turning a bus into a home on wheels is a bigger project than buying a ready-made camper, but it gives me something factory builds rarely offer: a space designed exactly around how I travel. I have spent enough time planning practical journeys to know that the best conversions start with measurements, not dreams.
This Bus Wohnmobil Umbau guide follows the order I would use in a real build, from the first floor plan to the final road check. I focus on practical decisions, realistic compromises, and the details that save expensive rework later.
What this guide covers
- Planning a functional bus layout before cutting anything
- Installing systems safely and efficiently
- Preparing a converted bus for comfortable travel
Planning the Bus Wohnmobil Conversion Layout
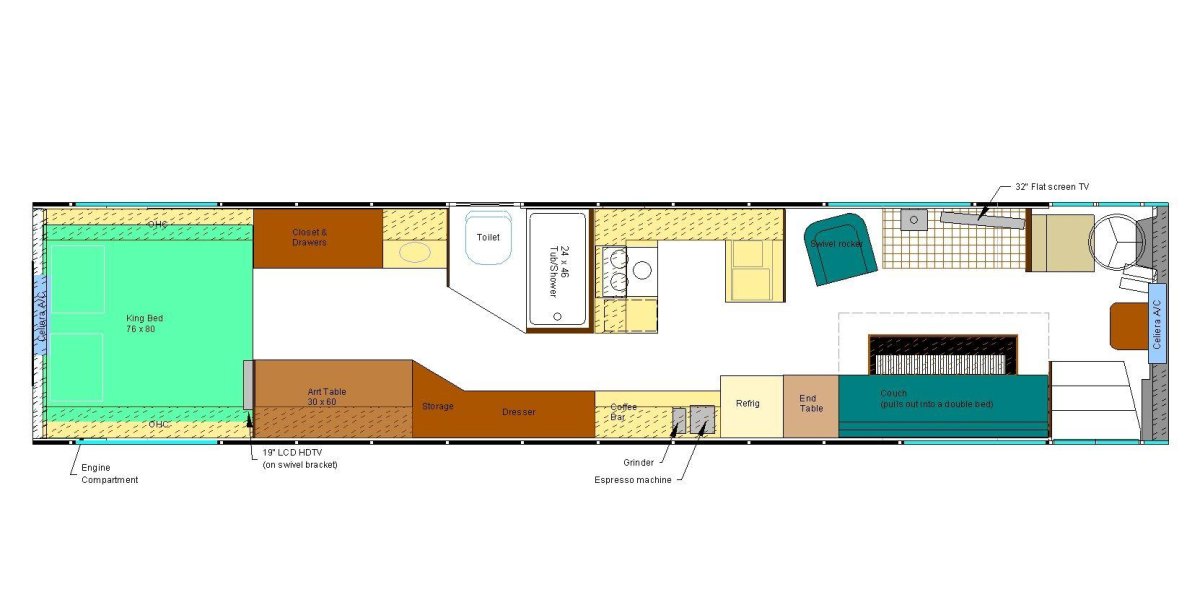
The first mistake I see in DIY conversions is buying materials before drawing the living space. A good layout starts with accurate measurements, because the bed, kitchen, storage, and systems all compete for the same few metres.
I would sketch several versions before committing. My favourite layouts keep daily movement simple: easy access to the bed, enough kitchen worktop, and storage where I naturally reach for things.
Choosing the Right Bus for a Motorhome Conversion
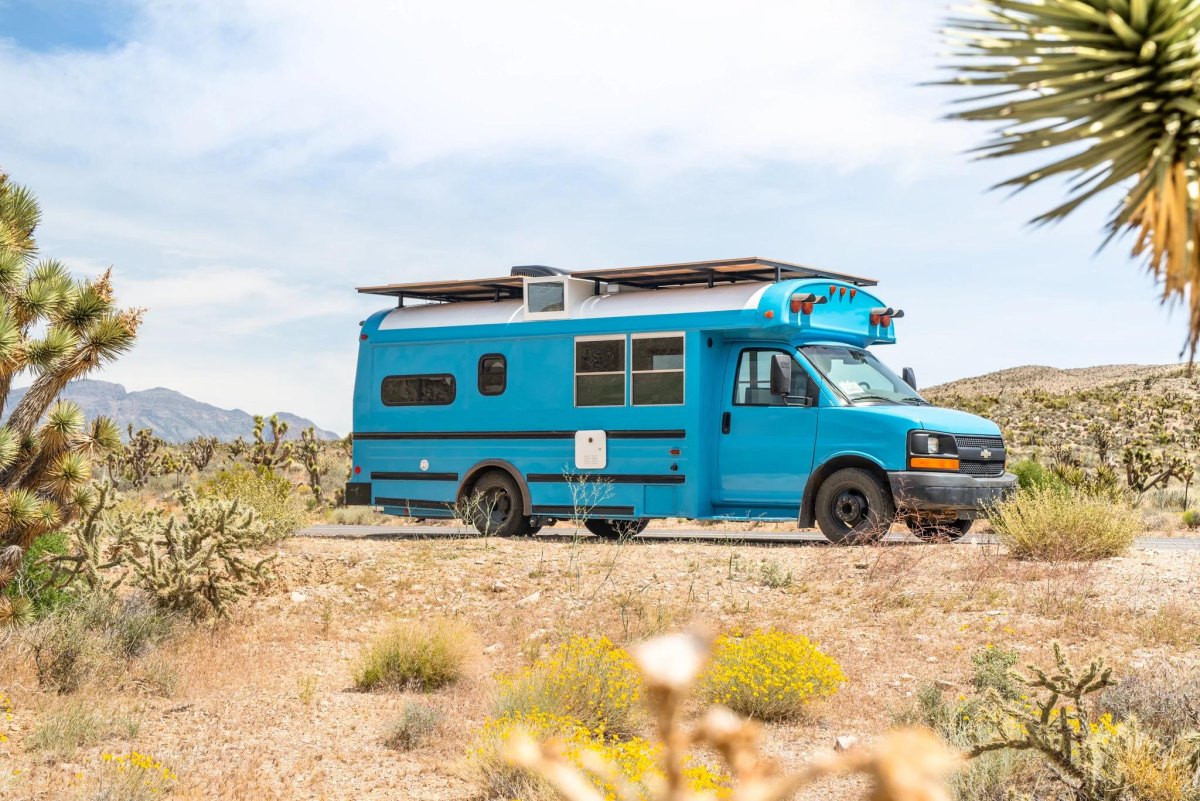
The bus you start with decides much of the final result. I would inspect the chassis condition, corrosion, service history, and available headroom before thinking about curtains or cabinets. A beautiful interior cannot rescue a tired vehicle.
Different buses suit different travellers. A shorter bus is easier to park, while a larger platform gives you more living space options for full-time travel.
Advantages
- Custom floor plan freedom
- Strong vehicle platforms
Challenges
- More inspection and maintenance work
- Larger vehicles need more planning
Removing Interior Parts and Preparing the Bus Shell
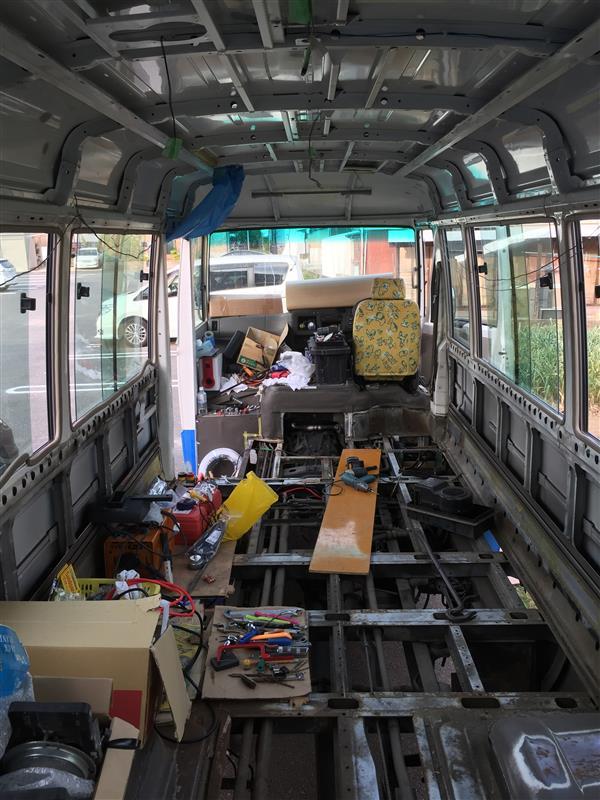
Stripping the original interior is the messy stage, but it reveals what you are actually working with. I would photograph everything before removal and label parts that may help later.
The empty shell is where I check for leaks, rust, damaged panels, and old wiring. This preparation creates a clean base for reliable construction later.
Avoid this mistake
Do not cover problems with new walls. Fix moisture, corrosion, and structural issues before adding insulation or furniture.
Installing Insulation and Interior Wall Systems
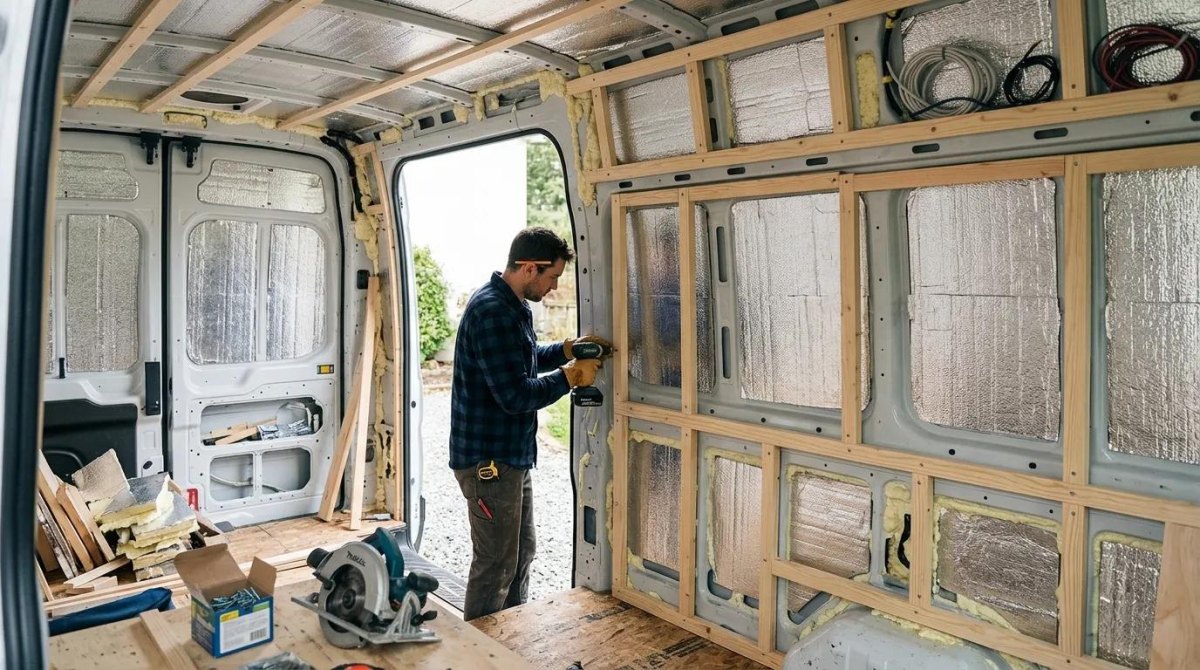
A bus is a metal box, which means temperature and condensation need serious attention. Good insulation choices and careful moisture control make the difference between a comfortable camper and a damp one.
I prefer thinking about the whole wall system: insulation, framing, and panels working together. The hidden layers matter most because you cannot easily repair them later.
Building the Sleeping and Living Areas
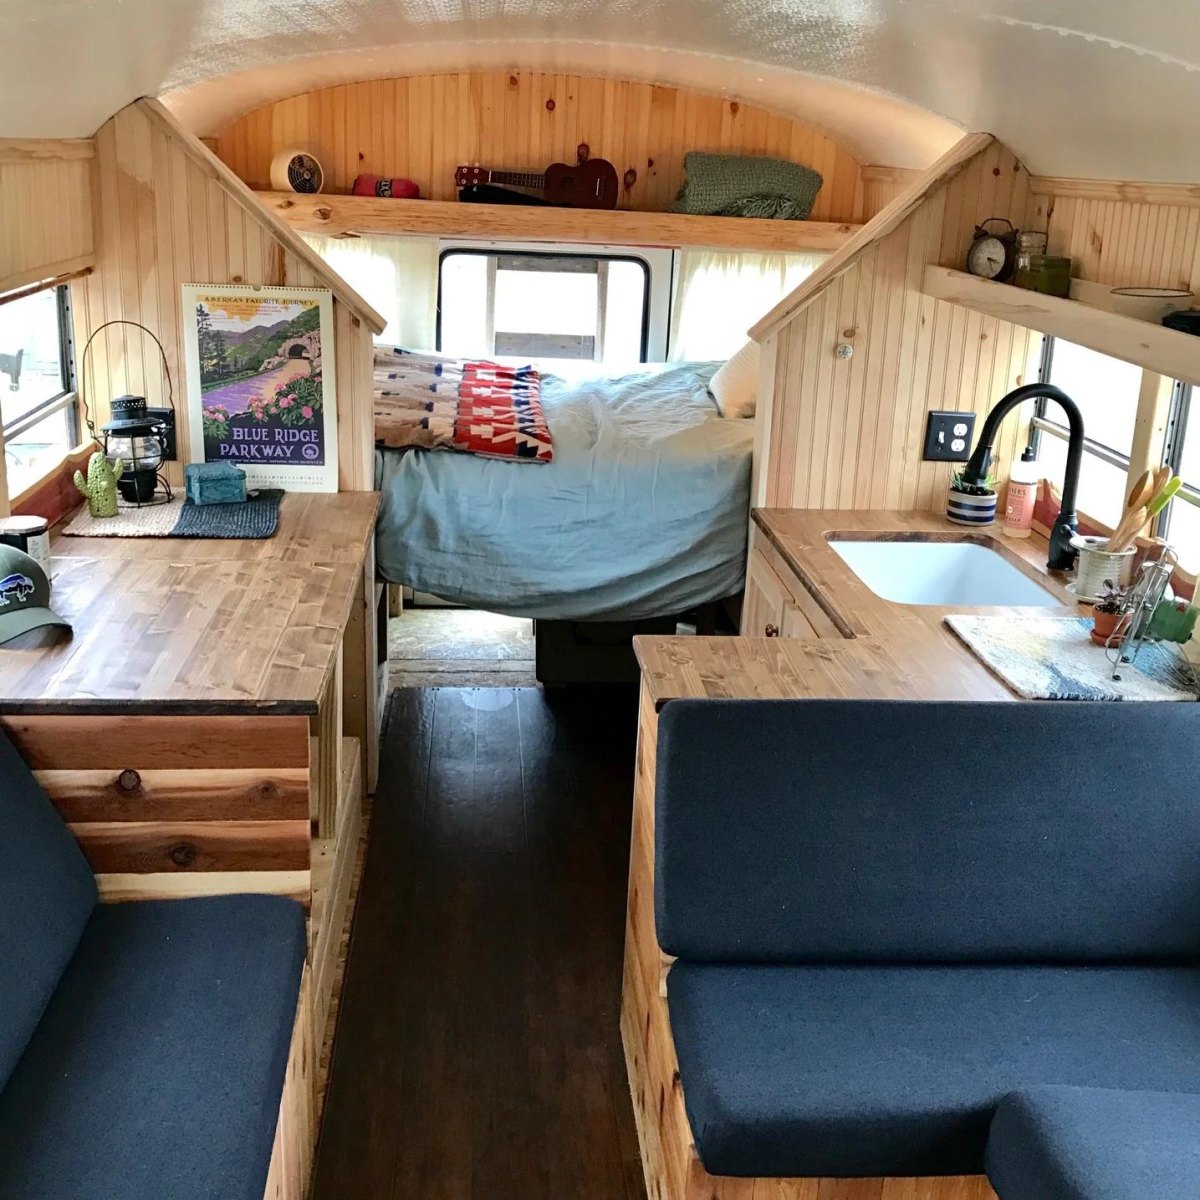
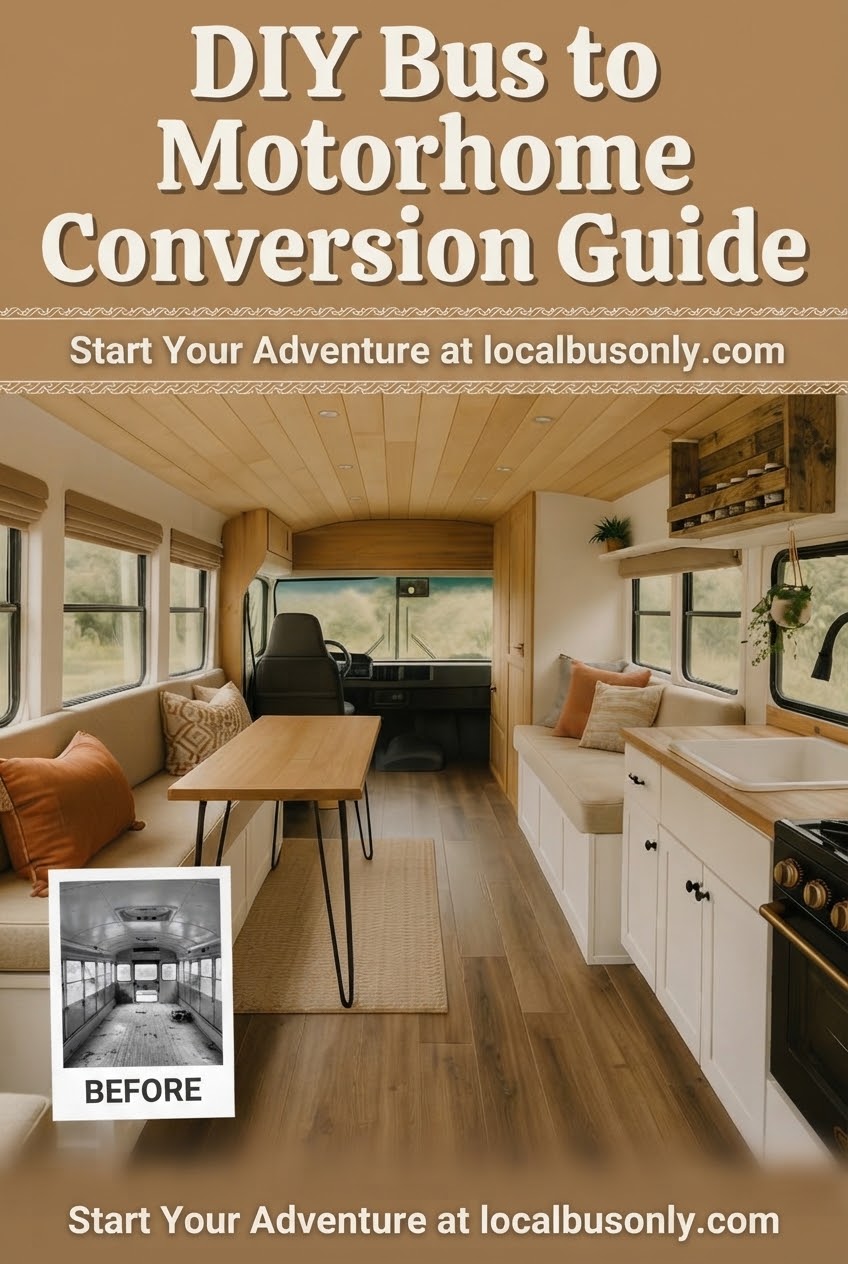
The sleeping area is usually the largest fixed feature, so I design everything else around it. A comfortable bed and useful storage will improve every journey more than decorative extras.
I like flexible spaces where a table or seating area can serve several purposes. A clever multi-use interior layout saves weight and keeps the bus feeling open.
| Area | Planning priority |
|---|---|
| Bed | Comfort and access |
| Seating | Daily use flexibility |
Creating a Functional Kitchen and Storage Space
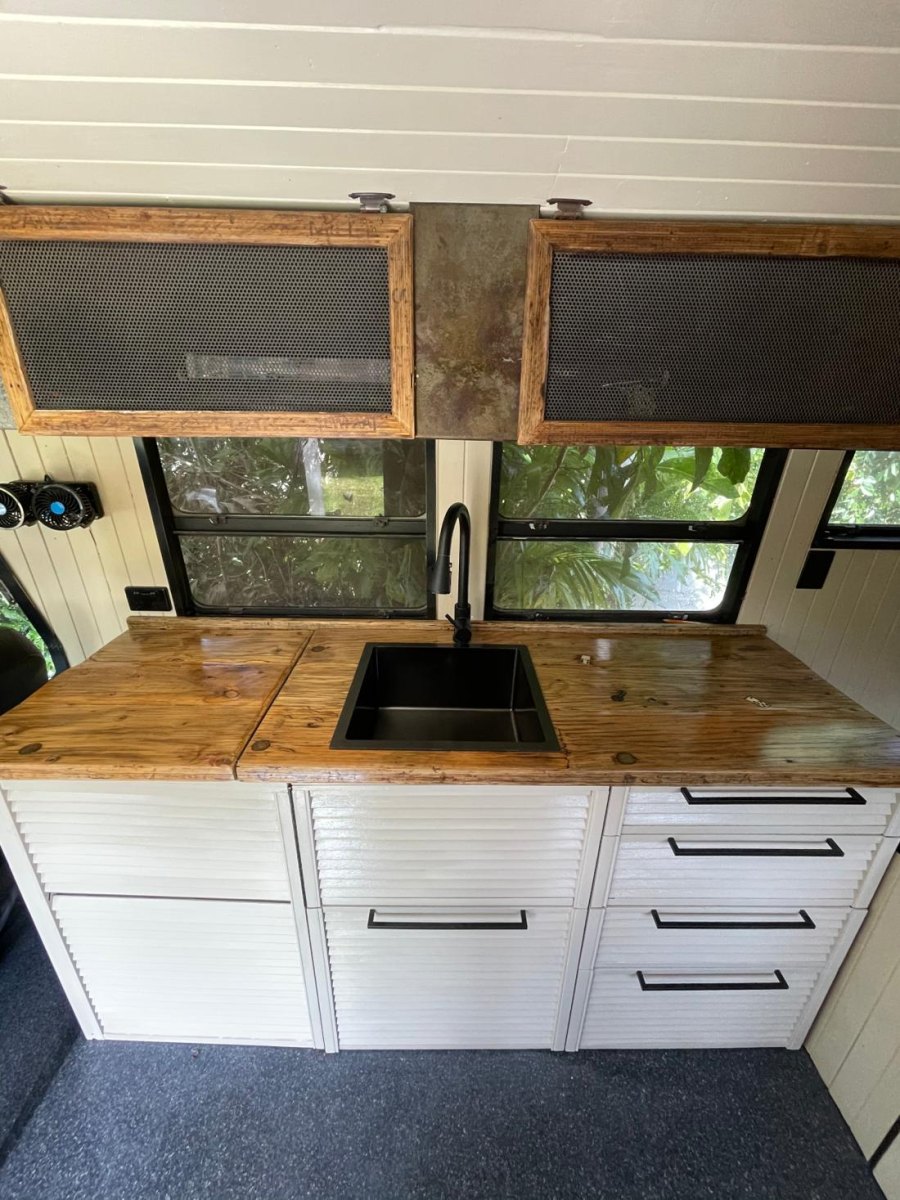
A kitchen in a bus does not need to copy a house kitchen. I focus on the things I actually use: food preparation space, a reliable fridge location, and storage that stops items moving while driving.
The best cabinets are not the biggest ones. They are the ones that make every centimetre useful without making the interior feel cramped.
Setting Up Electrical Systems and Solar Power
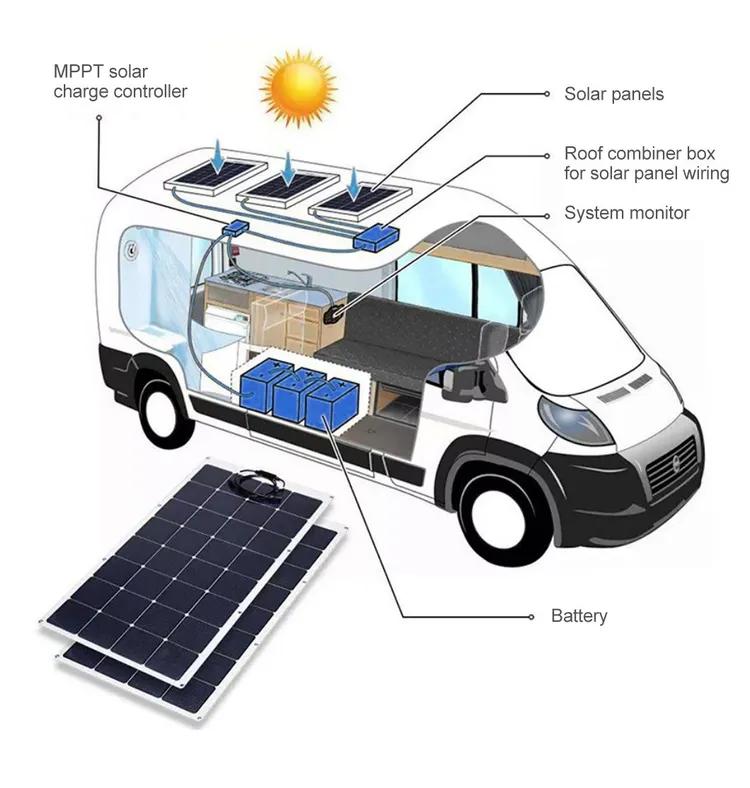
Electrical planning is one area where guessing becomes expensive. A camper system normally combines batteries, charging sources, protection equipment, and distribution for lights and appliances.
I would calculate power needs before buying batteries. More capacity is not automatically better if the system is poorly designed. Solar works best as part of a complete energy plan, not as a single magic solution.
Useful tip
Label every cable during installation. Future troubleshooting becomes much easier.
Installing Water Systems and Bathroom Facilities
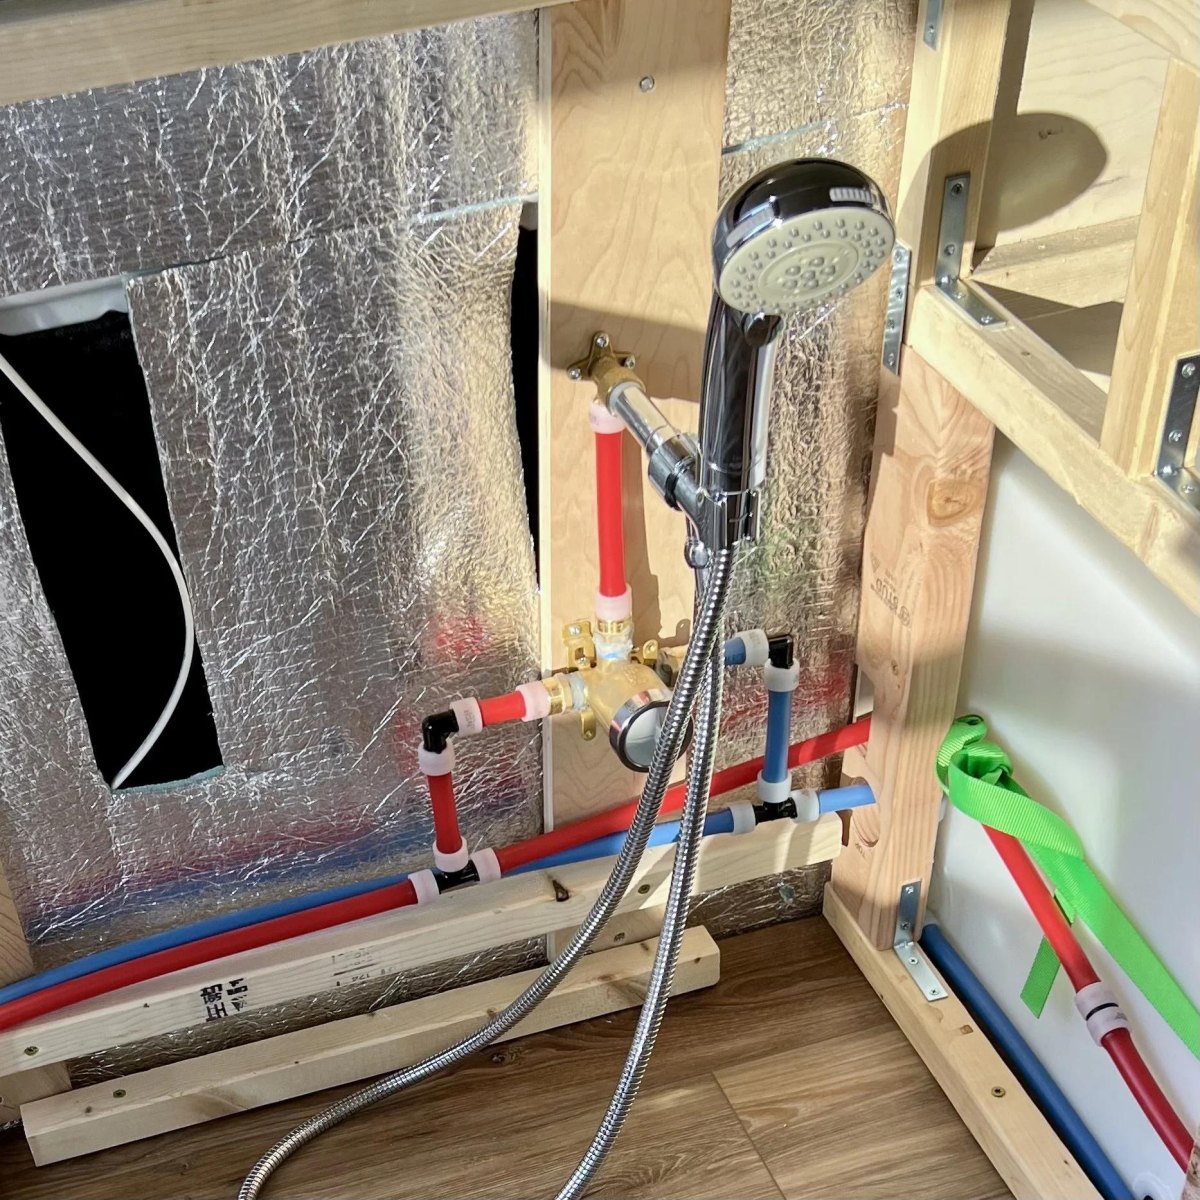
Water systems add comfort but also add weight and maintenance. I plan tank locations early because water storage affects balance, access, and available storage space.
A small bathroom can work well when it is designed around real use. The key is choosing simple dependable equipment rather than adding features you rarely need.
Remember
Local rules for plumbing, gas, and vehicle modifications vary, so check the requirements where the vehicle is registered.
Designing Comfortable Interior Finishes and Decoration
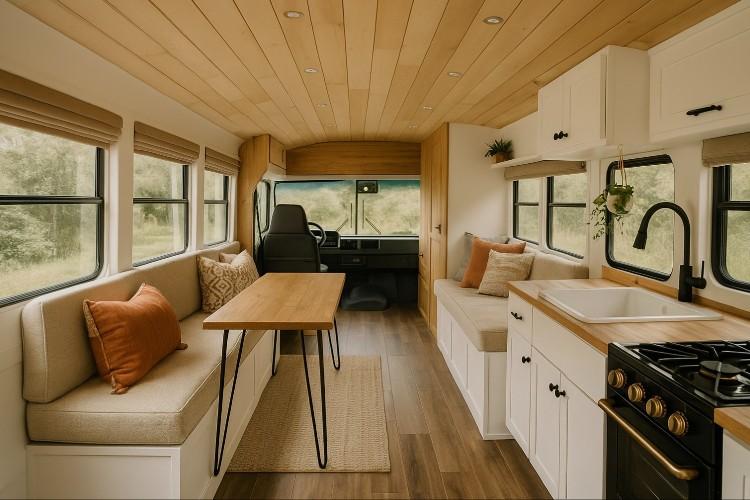
The finishing stage is where the bus starts feeling like a home. I choose materials that can handle movement, temperature changes, and years of cleaning.
My preference is simple: durable surfaces, good lighting, and colours that make the space feel larger. Decoration should support everyday comfort, not create extra maintenance.
A practical design choice
Lightweight finishes often make more sense than heavy luxury materials in a moving vehicle.
Preparing the Converted Bus Wohnmobil for Travel
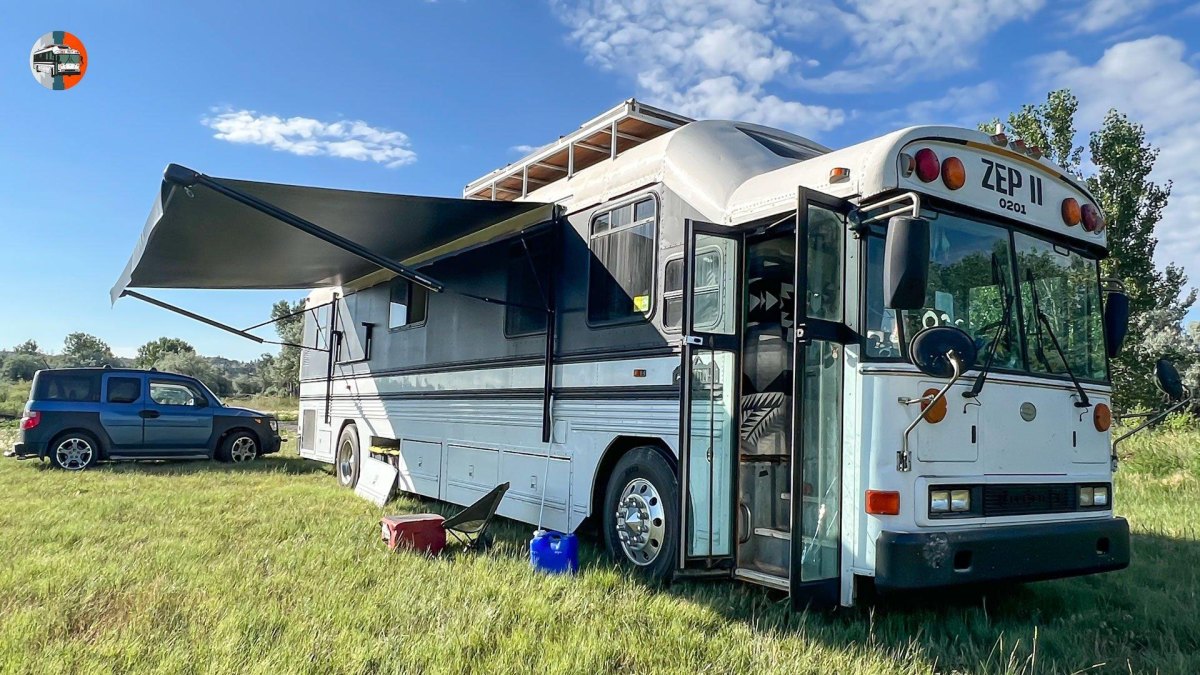
Before the first long trip, I treat the finished bus like a new route I have never taken: test it locally, find weak points, and adjust before the bigger journey. A conversion is not finished when the furniture goes in.
Vehicle checks, weight limits, registration requirements, and safety inspections matter. For example, some regions require specific evidence before changing a vehicle classification to motor caravan.