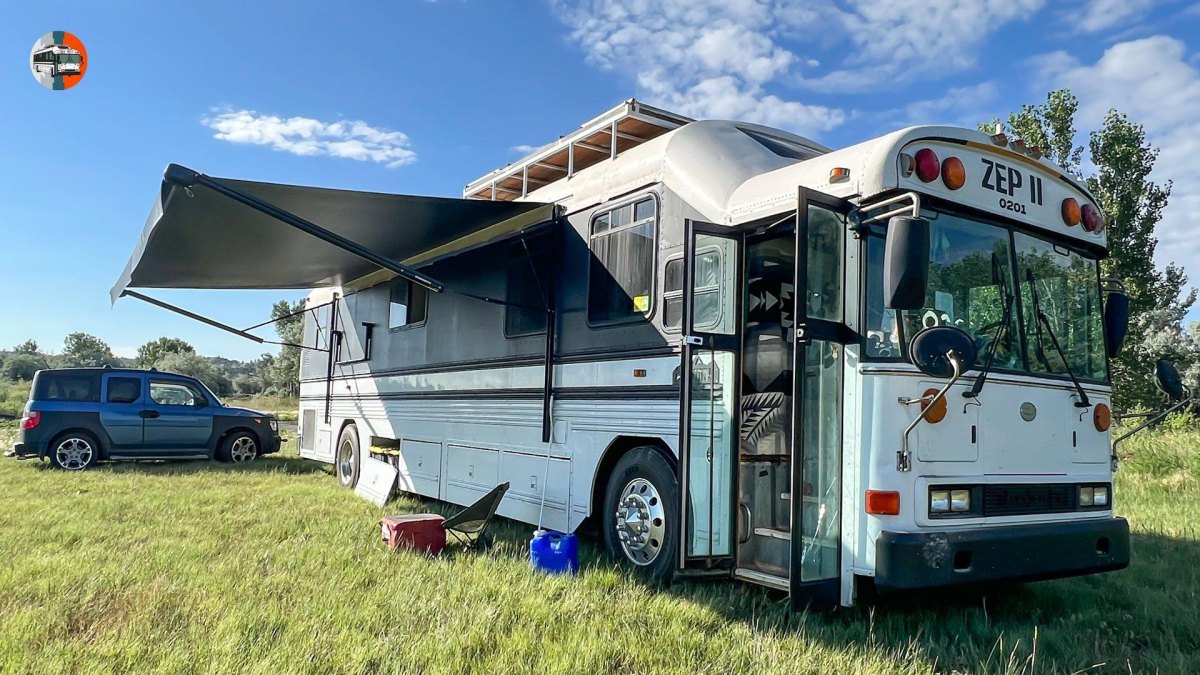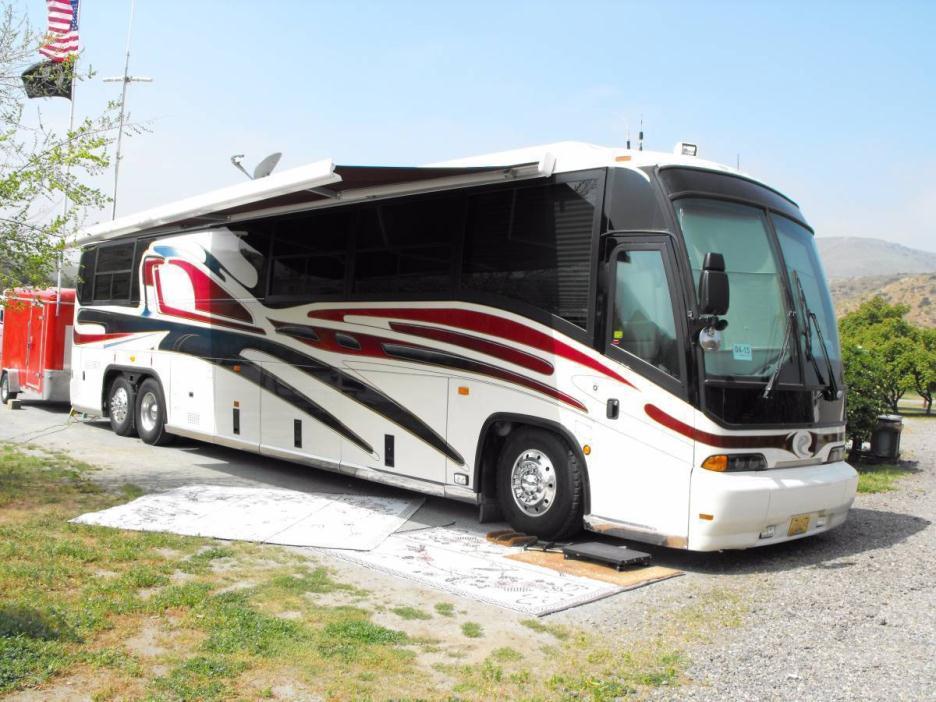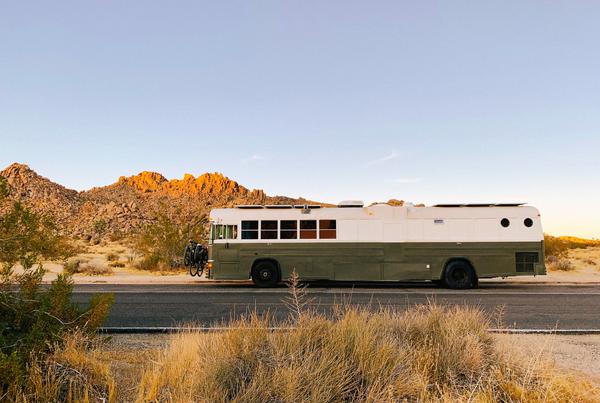
Turning a bus into a home takes more planning than adding a bed and some cabinets. I have seen the difference that careful preparation makes, especially when every inch and every wire matters. This guide covers the practical decisions I would make before taking a converted bus on the road.
I focus on the parts that usually cause the biggest headaches later: layout choices, insulation, power, storage, water, and safety checks. A good conversion is less about making something fancy and more about making something that works every day.
Planning Your Bus Layout Before Conversion
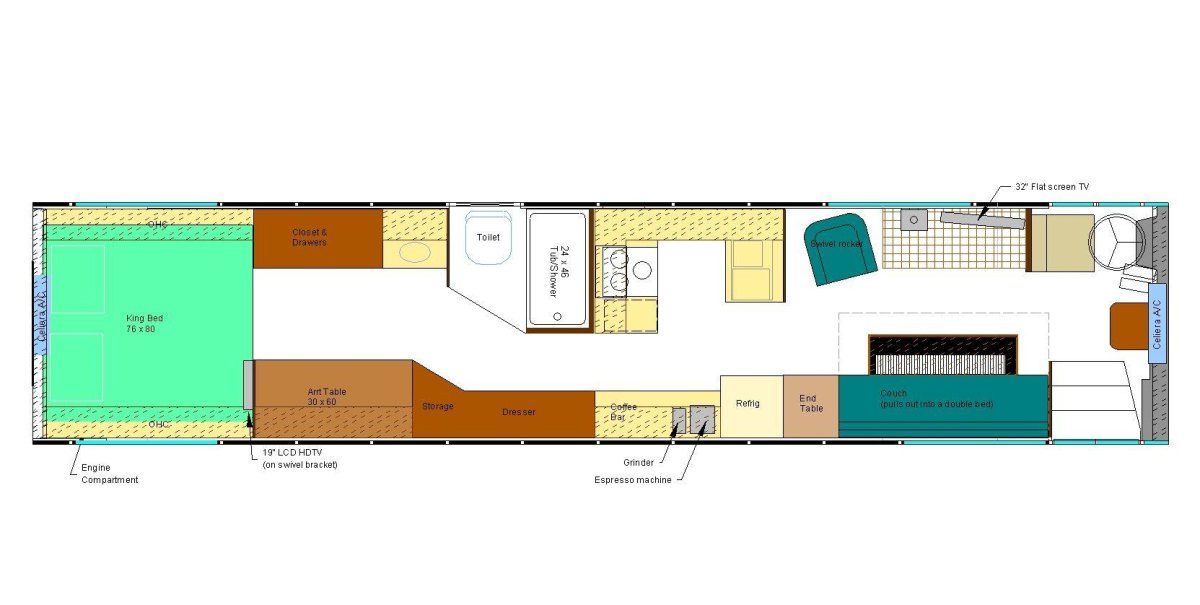
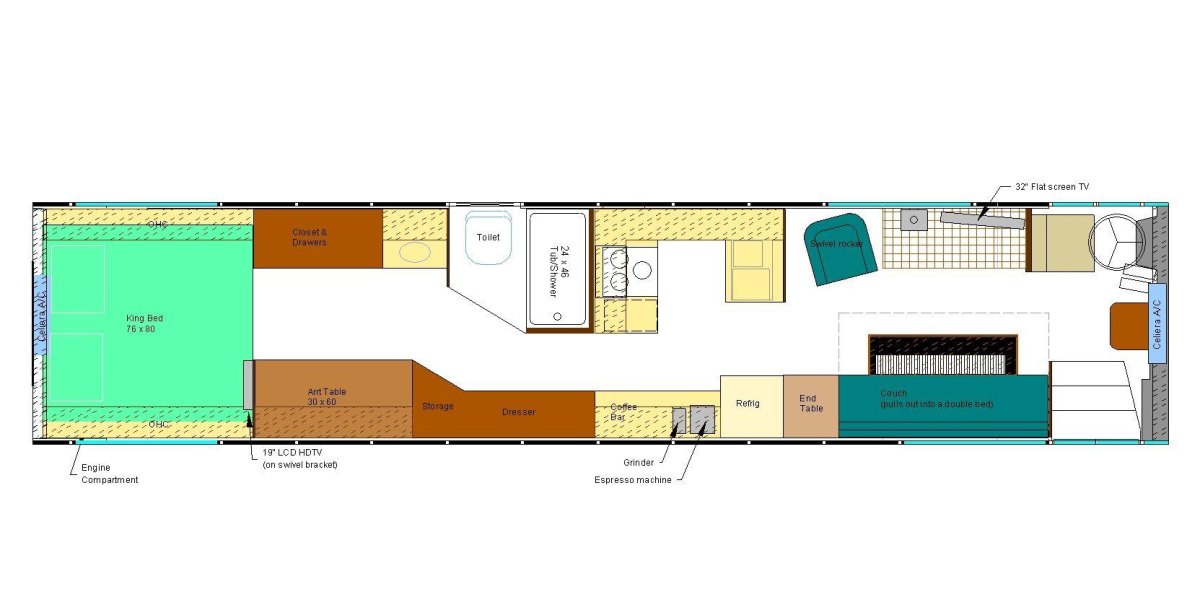
Before I cut a single panel, I draw the living space and think through how I will actually move inside it. A bus conversion works best when the daily routine comes before the decoration. I mark sleeping, cooking, storage, and maintenance areas first.
Layout planning summary
- Measure the bus interior before buying materials.
- Leave access space for plumbing, wiring, and repairs.
- Design around the items you will use most often.
I also keep weight distribution in mind. Heavy items such as batteries, water tanks, and appliances need sensible placement so the vehicle remains practical on the road. Balanced weight planning saves problems later.
| Area | Planning question |
|---|---|
| Bed | Can I use it without moving other furniture? |
| Kitchen | Are cooking tools easy to reach? |
| Storage | Can I access essentials quickly? |
Professional RV standards also consider construction, electrical, plumbing, and safety requirements, which is a useful reminder that a bus home is still a vehicle system.
Insulating the Bus for Comfort and Efficiency
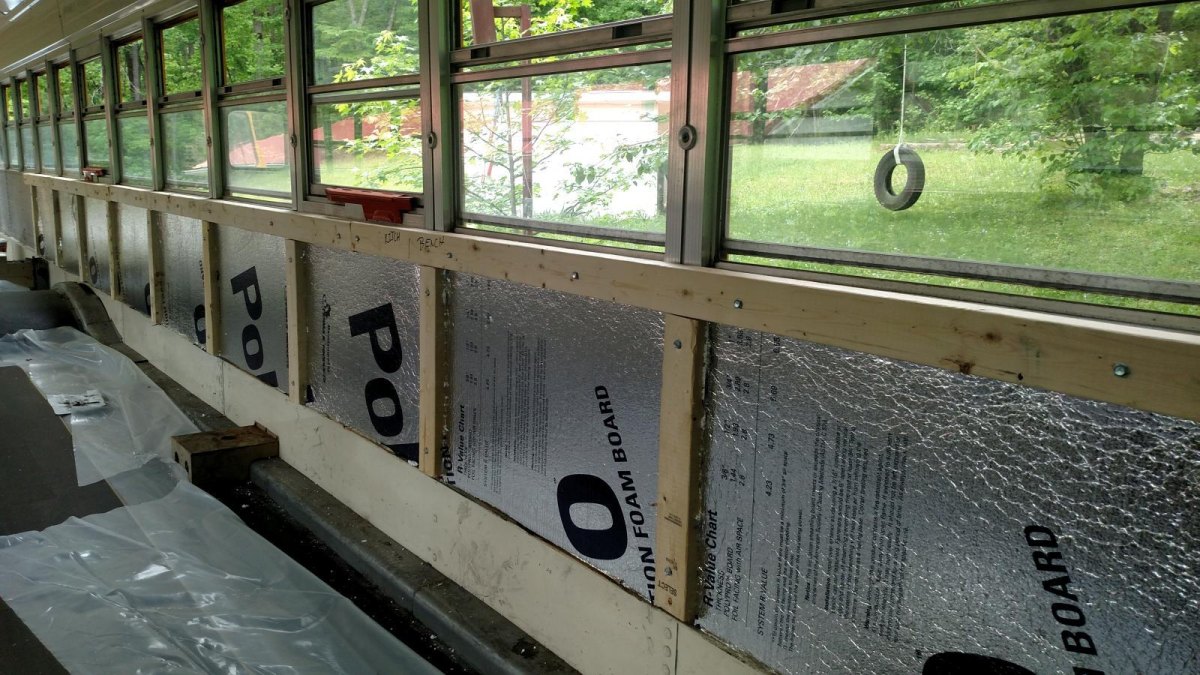
A metal bus changes temperature quickly, so insulation is one of the first upgrades I would tackle. Good insulation helps with heat retention and noise reduction, making the space easier to live in across different seasons.
- Clean. Remove rust, dirt, and old materials before installing insulation.
- Seal. Close gaps around windows, doors, and metal joints.
- Cover. Add interior layers that protect insulation and create a finished surface.
I prefer to plan insulation alongside ventilation because a sealed bus still needs airflow. Moisture control is just as important as keeping warm. Dry interior conditions prevent many long-term problems.
My practical tip
Do not hide every surface before testing your insulation choices through hot and cold conditions. Small adjustments early are much easier than rebuilding later.
Installing Electrical and Solar Power Systems
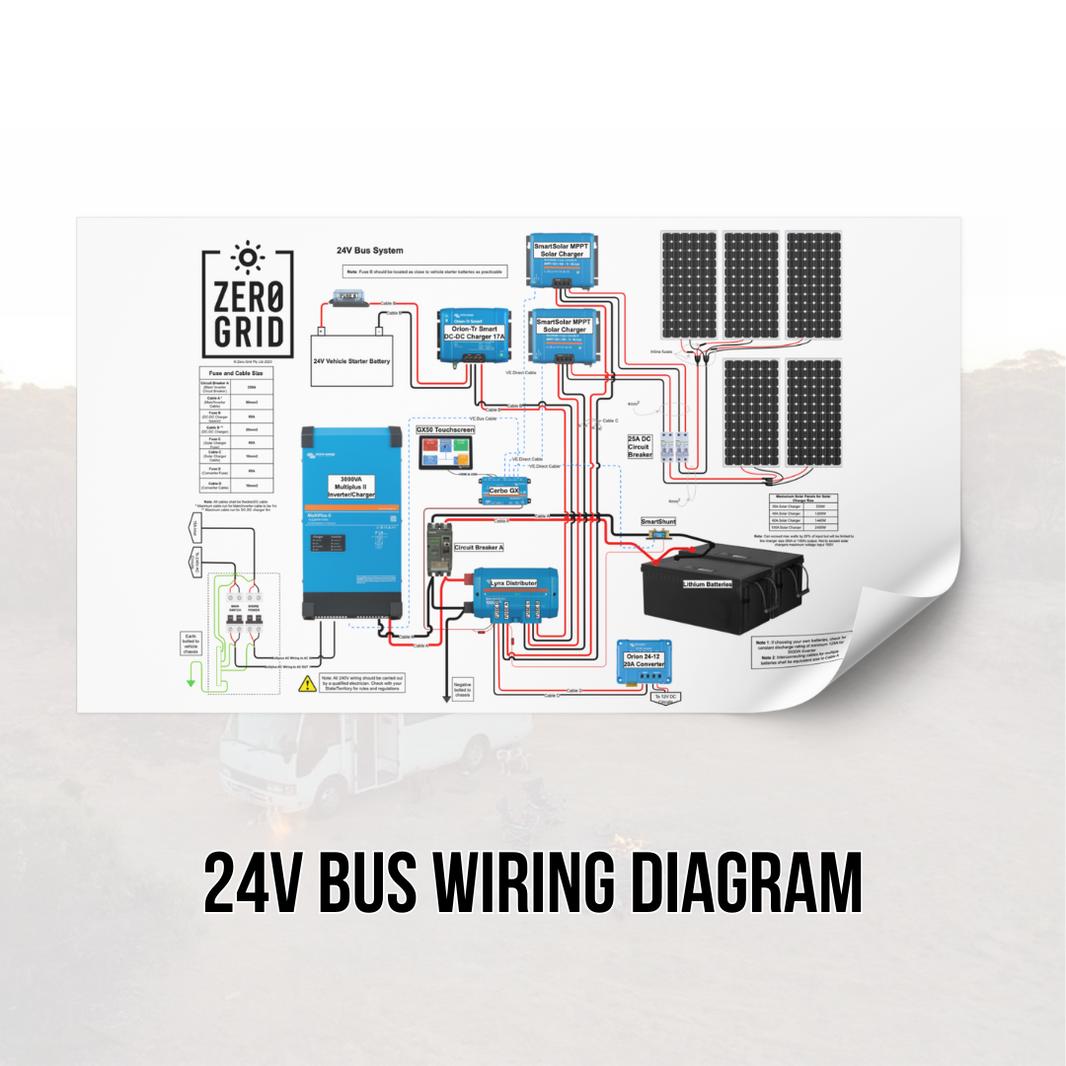
The electrical system is where many first-time converters become overwhelmed. I start by listing what I actually need, because power planning starts with usage, not with buying the biggest battery available.
- Battery: Stores energy for your daily needs.
- Solar: Recharges the system when sunlight is available.
- Protection: Fuses and correct wiring help keep the system safer.
A typical camper electrical setup combines batteries, charging sources, distribution, and sometimes an inverter for household-style power. I would size everything around the appliances I plan to use rather than copying someone else's build.
3
Common charging sources: solar, alternator charging, and mains hookup
Solar sizing guides also recommend calculating daily energy use before choosing components. Accurate energy estimates prevent expensive mistakes.
Building Functional Storage and Furniture
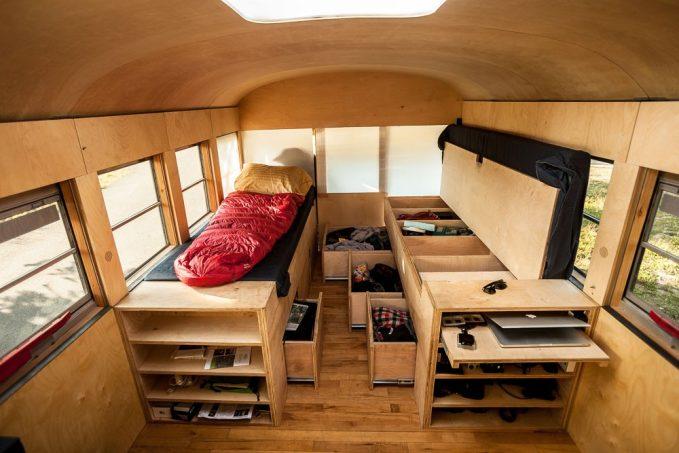
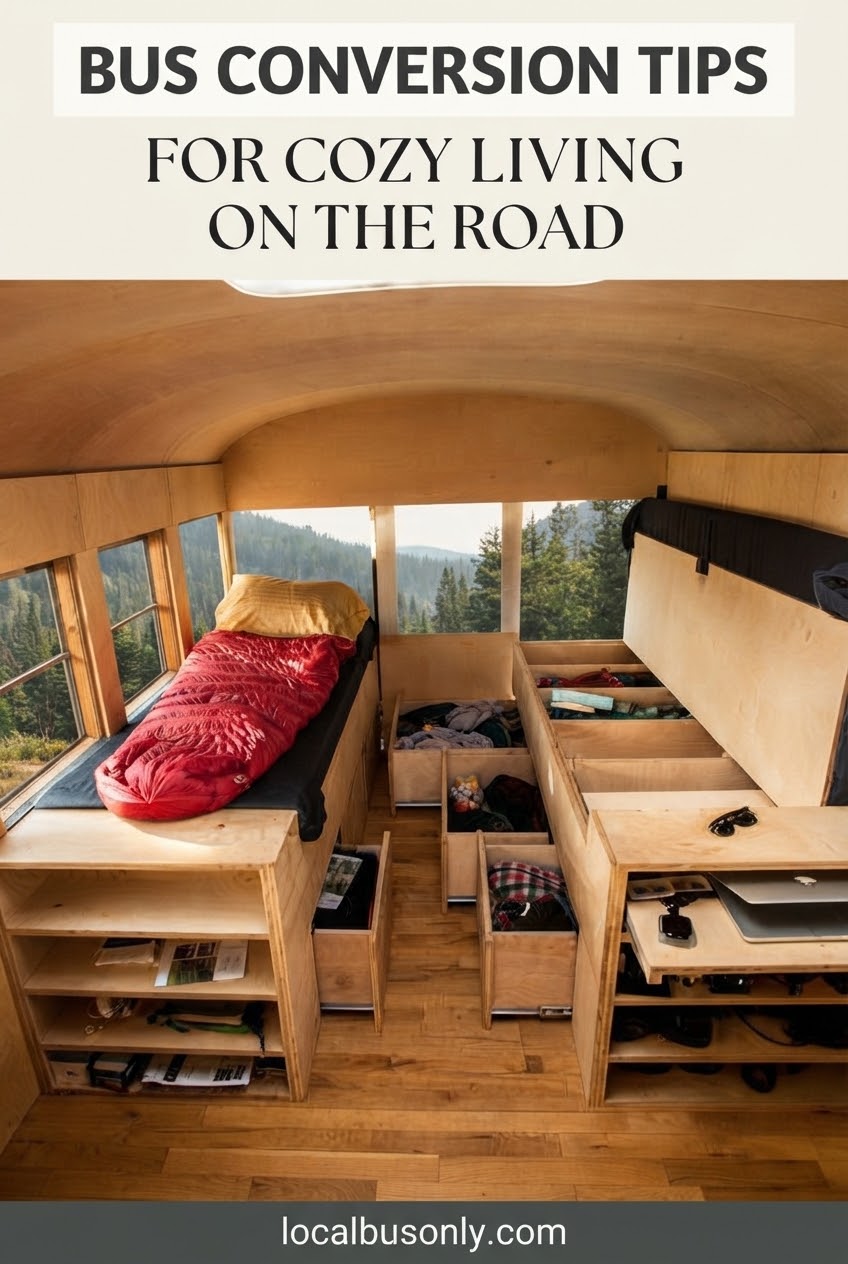
Furniture in a converted bus has to work harder than furniture in a house. I look for designs that provide multiple uses, such as benches with storage underneath or beds that include accessible compartments.
Advantages
- Custom sizes fit unusual bus shapes.
- Built-in storage reduces clutter.
- Lightweight materials improve efficiency.
Challenges
- Construction takes time.
- Poor measurements create wasted materials.
- Heavy builds can affect handling.
I measure every cabinet and walkway twice because a few centimetres can change how comfortable the bus feels. Simple practical furniture usually beats complicated designs.
My rule is to build storage around what I carry, not around empty spaces I hope to fill.
Marnie DoyleCreating a Practical Kitchen and Water Setup
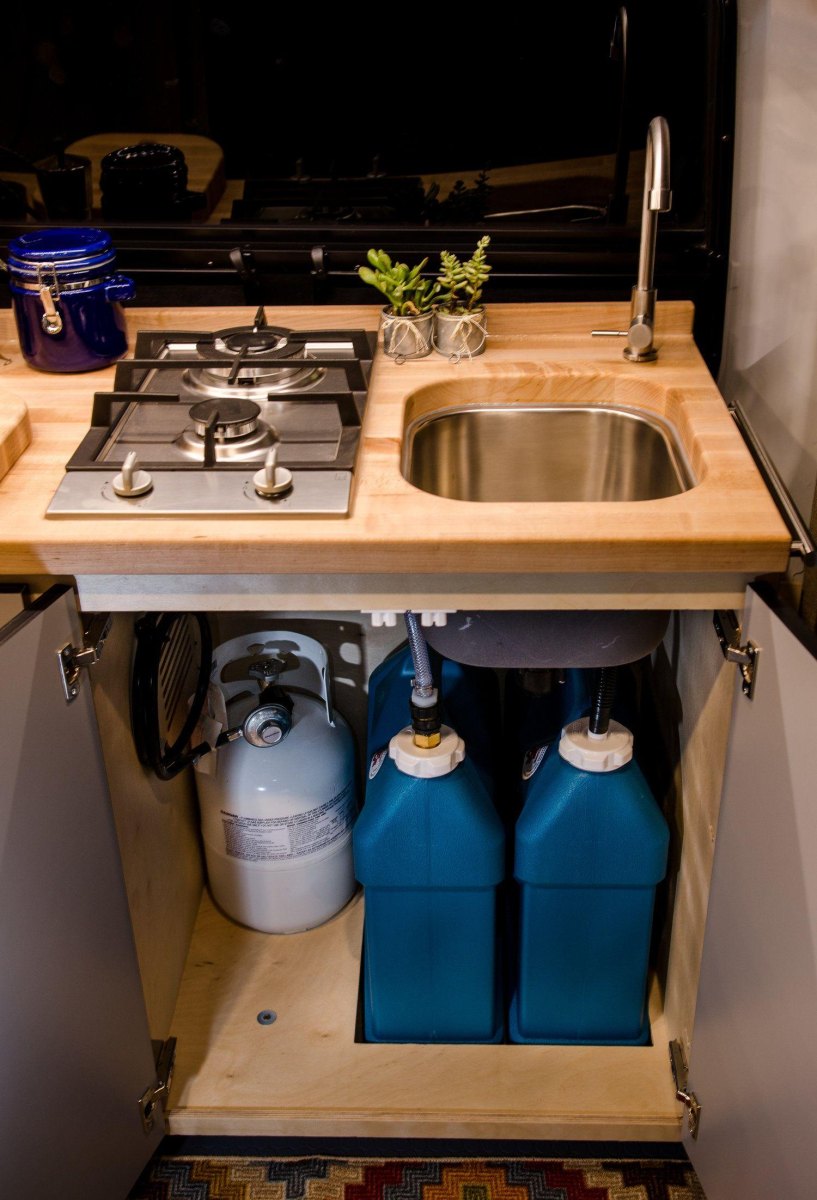
A small kitchen can be perfectly usable if the essentials are organised. I focus on efficient cooking space, reliable water access, and easy cleaning rather than trying to recreate a full-size kitchen.
- Plan fresh water and waste water locations.
- Make plumbing connections easy to inspect.
- Choose appliances that match your power system.
Water systems need careful installation because leaks are much harder to fix after walls and cabinets are finished. RV industry guidance covers plumbing systems, water distribution, and related safety considerations.
Avoid this mistake
Do not place hidden pipes where you cannot reach them. Easy maintenance access matters more than a perfectly hidden installation.
Testing Safety Features Before Hitting the Road
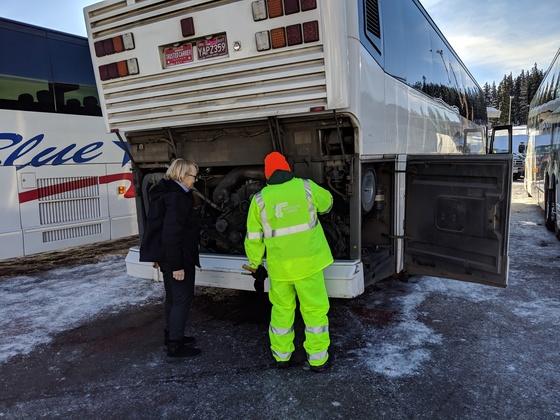
The final inspection is the part I would never rush. A beautiful interior means little if the electrical, water, and safety systems are not checked properly. Road readiness testing turns a project into a reliable vehicle.
- Test electrical connections and protection systems.
- Check water lines for leaks.
- Secure furniture and loose equipment.
- Verify alarms and emergency equipment.
RV safety standards cover areas including electrical systems, plumbing, fire safety, and construction requirements. I would also take short test trips before committing to a long journey.
My final road test
I prefer a weekend trip close to home first. Real-world testing reveals small problems that never appear while a bus is parked in a driveway.
The best conversions are not the ones with the most features. They are the ones where every system has a purpose and the owner knows how to maintain it.