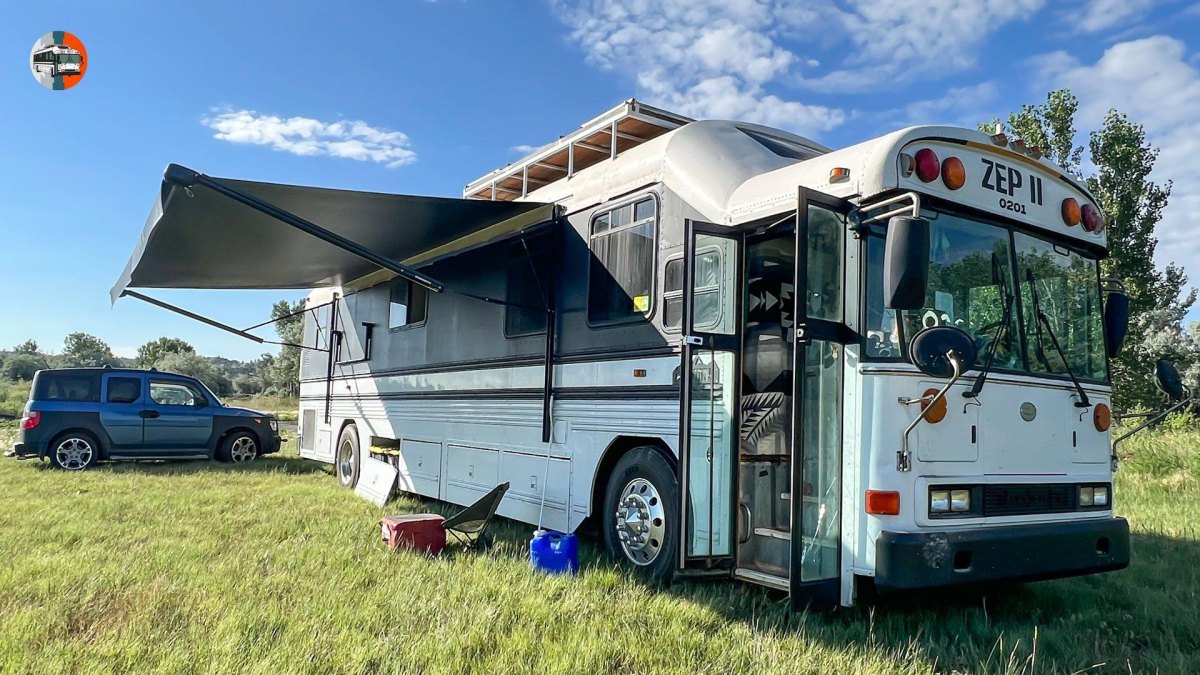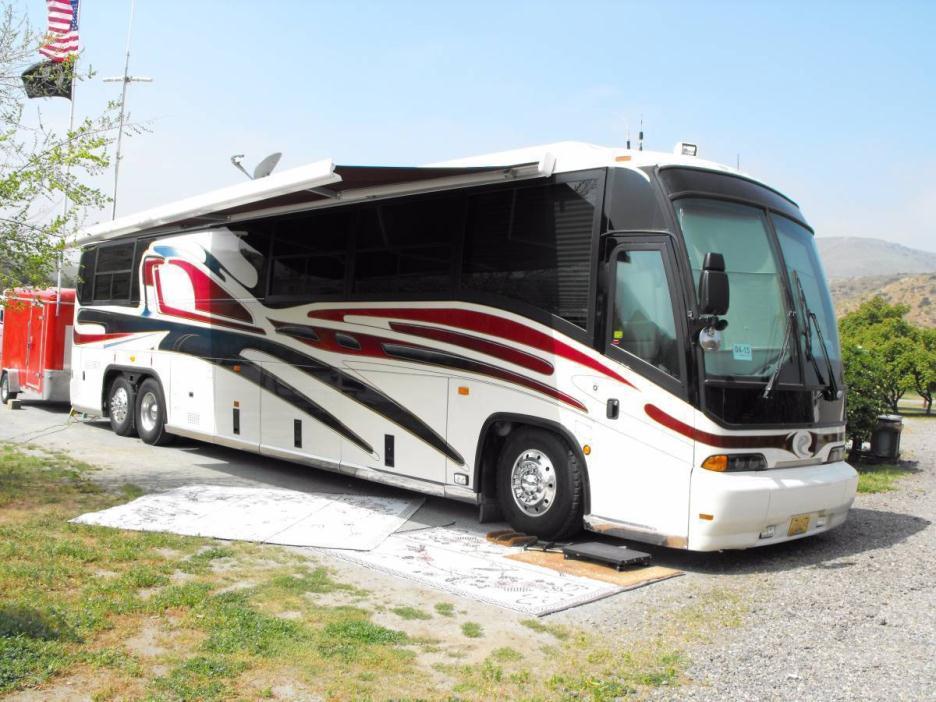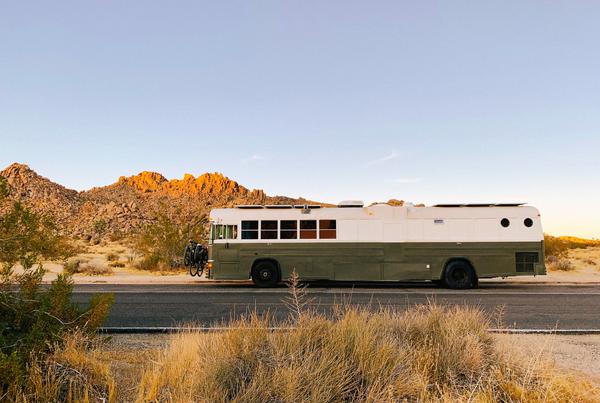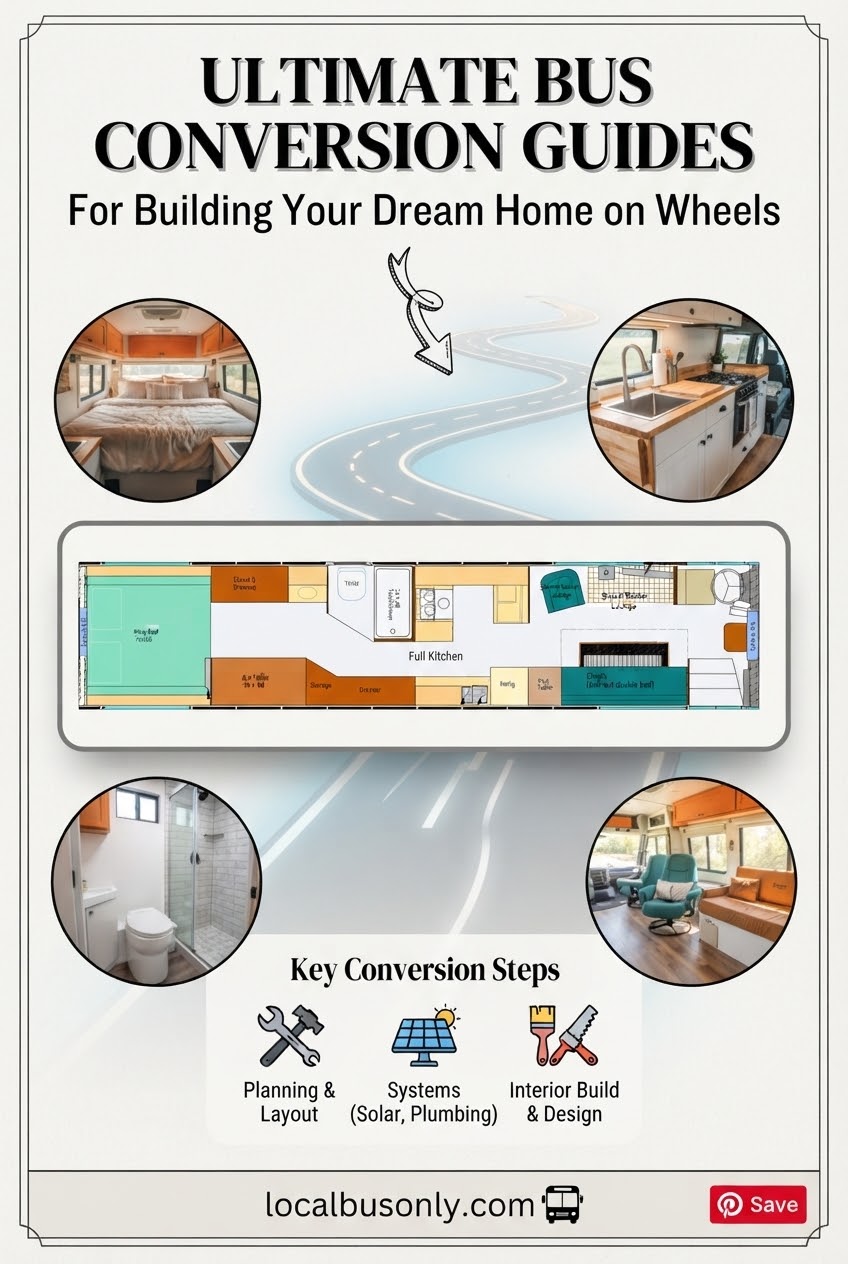
Converting a bus into a home is a project where small decisions become big daily comforts. I have looked at the process the way I plan any long journey: start with the basics, understand the limits, and avoid expensive surprises. A good build is about creating a livable mobile space, not simply filling an empty shell.
In this guide, I walk through the five stages I would focus on first: choosing the bus, planning the interior, building reliable systems, creating practical rooms, and preparing for the road. These are the areas where careful planning saves the most time later.
Choosing the Right Bus for Conversion
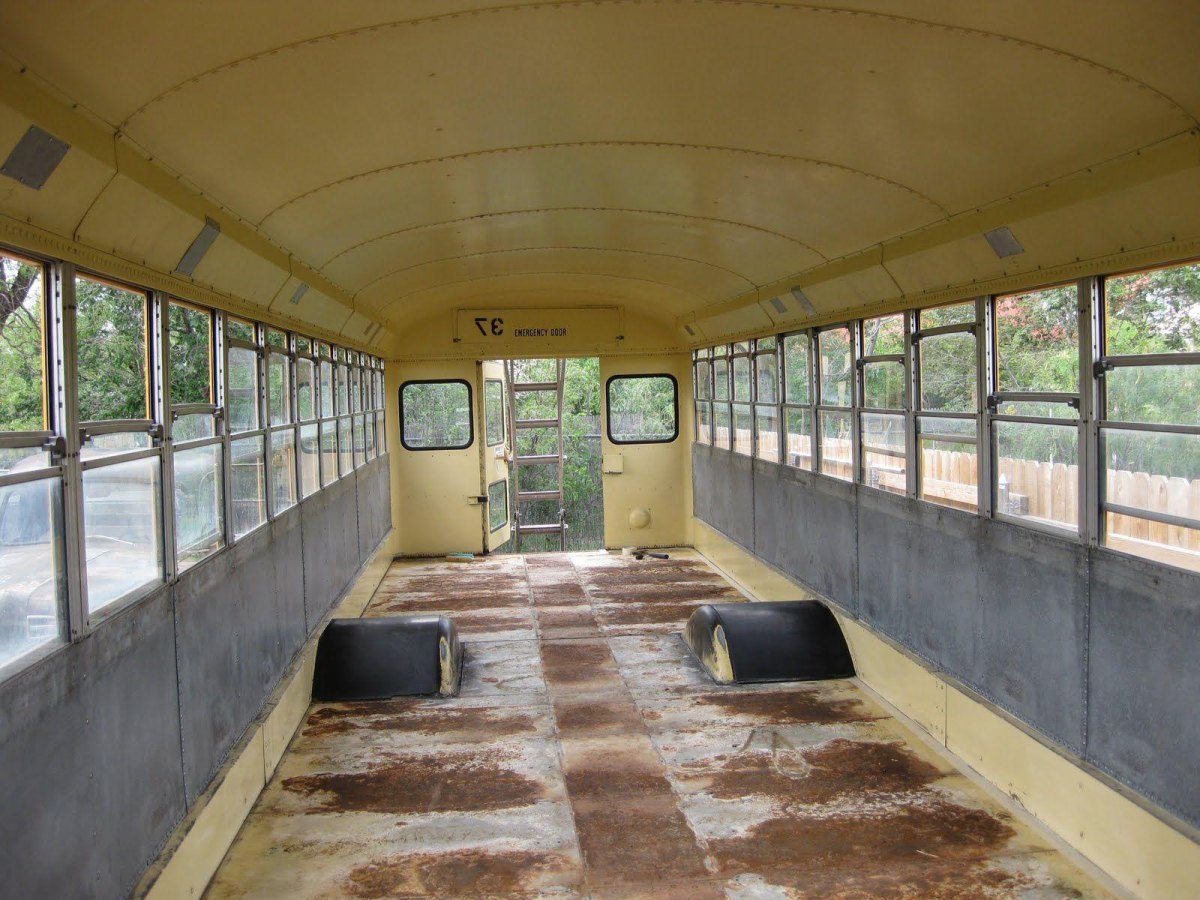
The first mistake many new converters make is choosing a bus because it looks interesting rather than because it fits their plans. I would begin with the vehicle condition, checking rust, mechanical history, size, and available interior space before thinking about paint or decoration.
What I check before buying
- Rust and structural condition
- Engine and maintenance records
- Interior height and usable floor area
A short bus can be easier to park and cheaper to maintain, while a full-size bus offers more room for storage and separate living areas. The right choice depends on how you plan to use the finished conversion, not just the conversion itself.
Planning the Interior Layout and Design
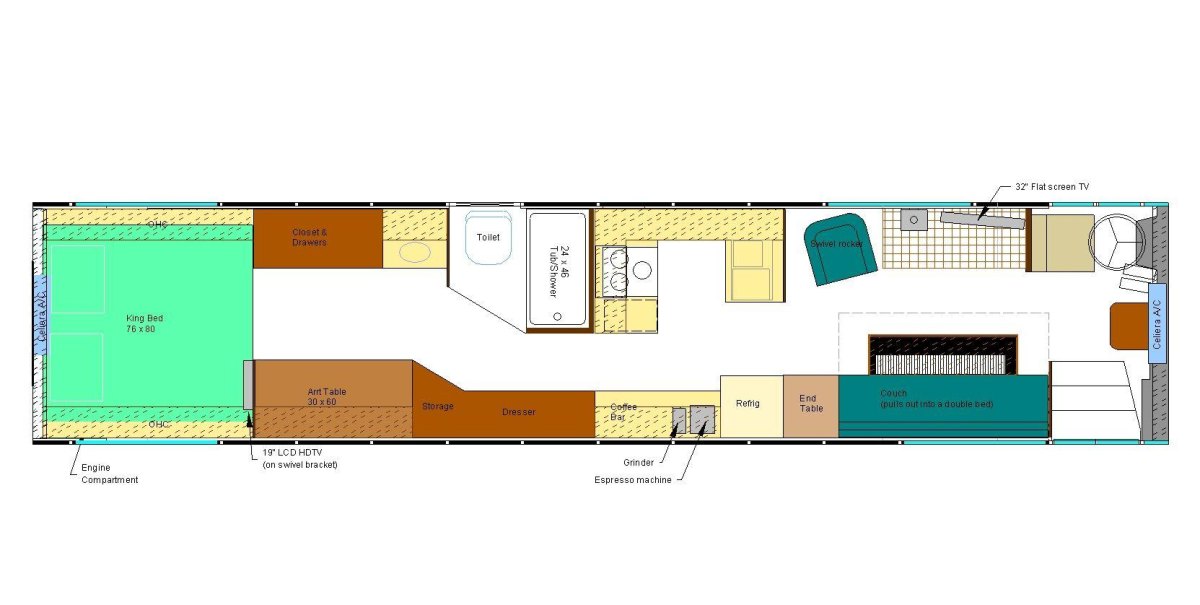
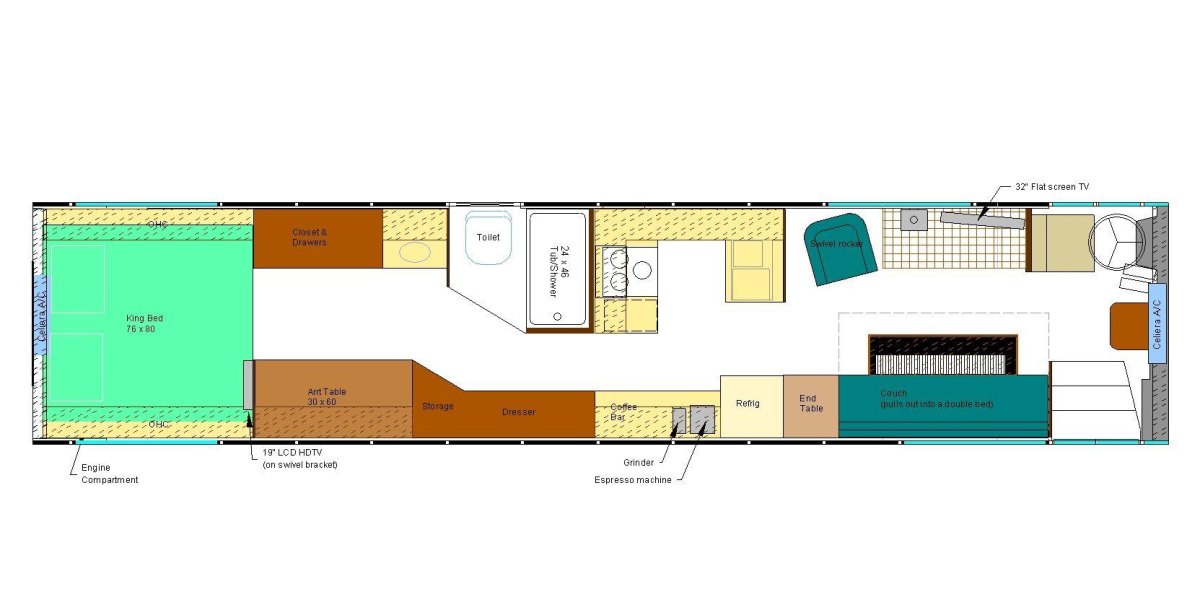
Before building walls or cabinets, I would draw the route I expect to take through the bus every day. The best layouts make ordinary tasks easy, with clear paths between the bed, kitchen, storage, and entrance. A careful floor plan prevents expensive rebuilds later.
- Sleeping area: Measure the bed first because it sets many other dimensions.
- Storage: Use overlooked spaces such as under benches and raised platforms.
- Movement: Leave enough room for daily routines, not just photos.
I always prefer a design that works on a rainy afternoon, when you are inside for hours, rather than one that only looks impressive in a picture. Good design is really about comfortable repetition of everyday life.
Installing Electrical and Solar Systems
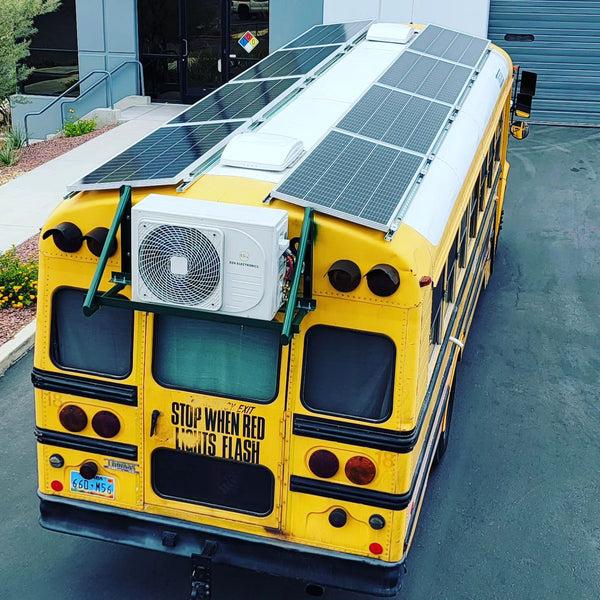
The electrical system is where I would slow down and measure twice. Lights, refrigeration, charging, and appliances all depend on a safe setup with suitable batteries, protection, and wiring. A reliable off-grid power system starts with knowing your actual energy needs.
- Calculate. List every device and estimate daily power use.
- Design. Choose batteries, solar input, and protection components carefully.
- Test. Check every circuit before hiding wiring behind finished walls.
Do not rush the wiring
A hidden electrical problem is much harder to repair after cabinets and wall panels are installed.
I like systems that are simple enough to understand on a cold morning in a campsite. Fancy equipment is less useful than a safe dependable setup.
Building the Kitchen, Bathroom, and Living Areas
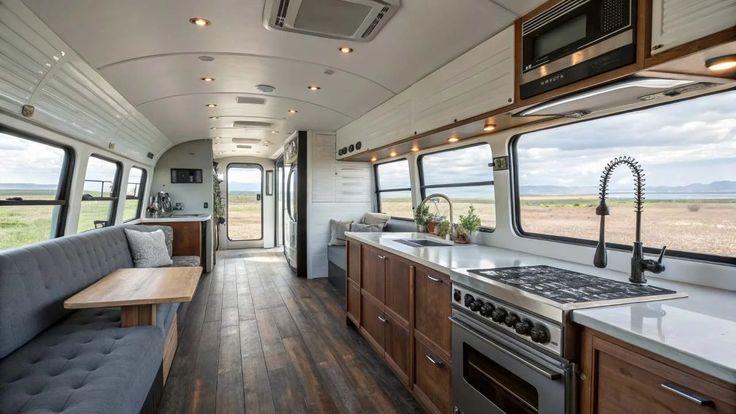
The inside of a converted bus should be built around how you actually live. I would choose durable materials, simple storage, and easy-to-clean surfaces before adding decorative details. The goal is a functional small home that handles everyday use.
| Area | Planning priority |
|---|---|
| Kitchen | Counter space, water access, food storage |
| Bathroom | Ventilation, plumbing, maintenance access |
| Living area | Flexible seating and useful storage |
Small spaces reward good decisions. I would rather have fewer cabinets that work well than a crowded interior full of things I rarely use. Every item should earn its place in the daily living layout.
Insulation, Finishing Touches, and Road Preparation
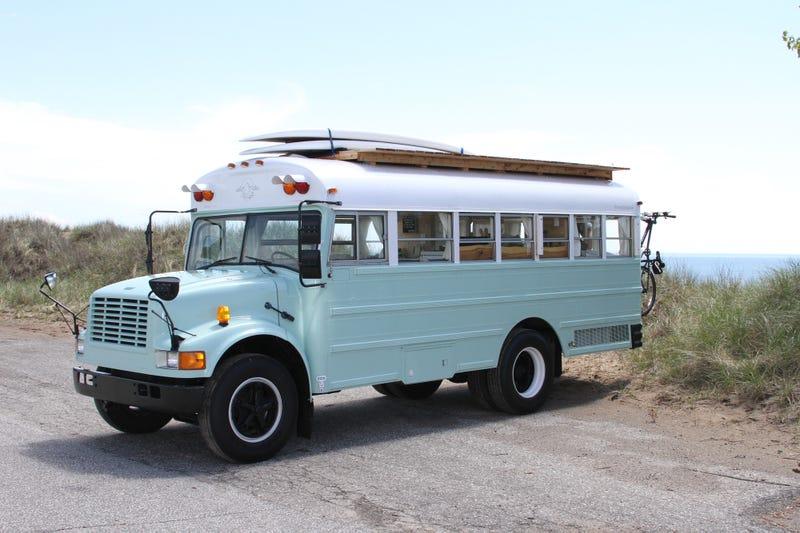
A bus is mostly metal, so temperature control deserves attention before the final panels go on. Insulation helps manage heat transfer and condensation, making the space more comfortable across changing weather. A strong thermal barrier is one of the best investments in a conversion.
- Seal gaps around windows and doors.
- Test water systems for leaks.
- Secure cabinets and loose items for travel.
- Check lights, brakes, tires, and essential road equipment.
My practical tip
Take a short test trip before committing to a long journey. A weekend reveals problems that a driveway inspection never will.
The best bus conversions are not the ones with the most features. They are the ones where every system works together, creating a comfortable road-ready home you can confidently use.