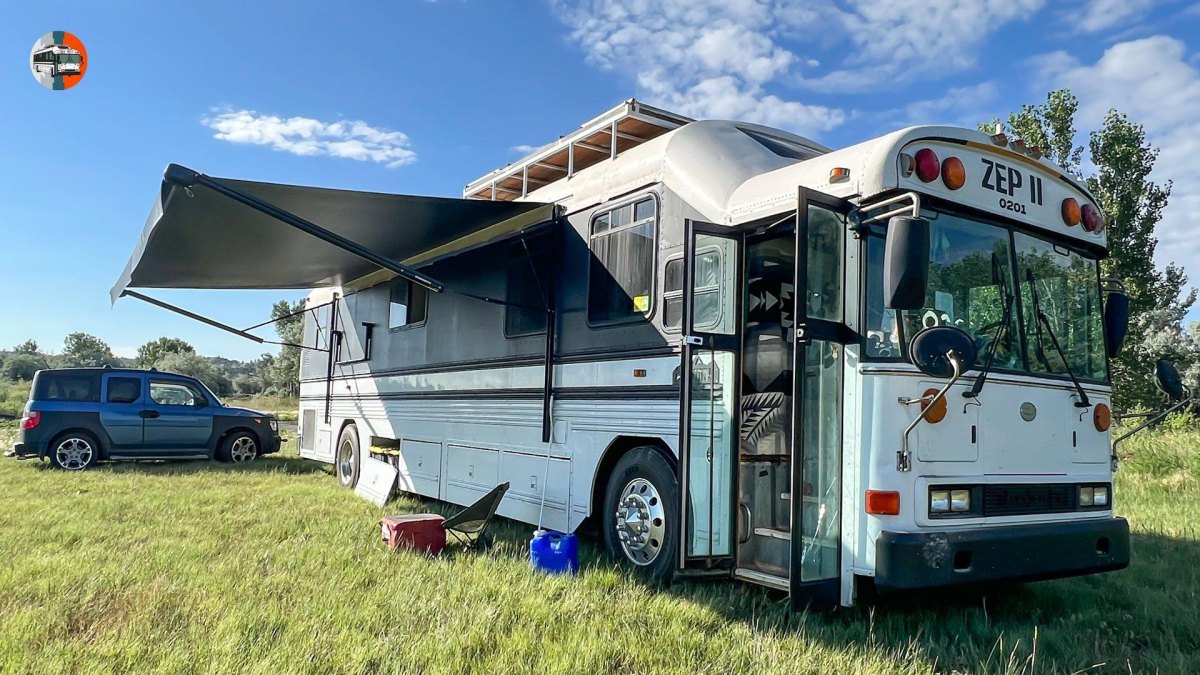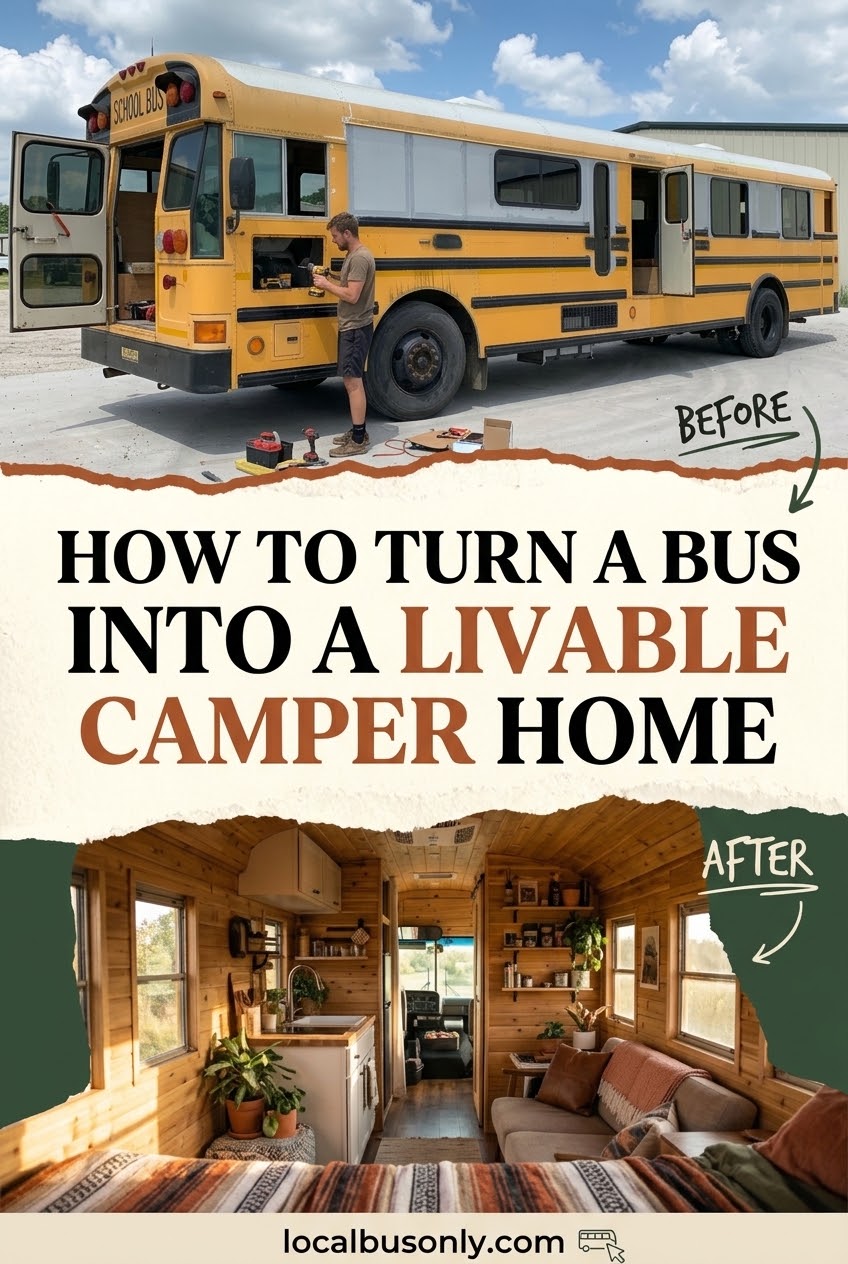
Turning a bus into a home takes patience, measuring, and a willingness to change plans when the metal box disagrees with your sketch. I have always liked practical projects where the details matter, and a bus conversion is exactly that: part tiny house, part vehicle, and part long-term puzzle.
I have gathered the steps I would follow before cutting panels or buying appliances, because good planning saves money later. A comfortable bus is rarely created by adding more things; it comes from choosing the right systems and fitting them properly.
Planning Your Bus Conversion Layout
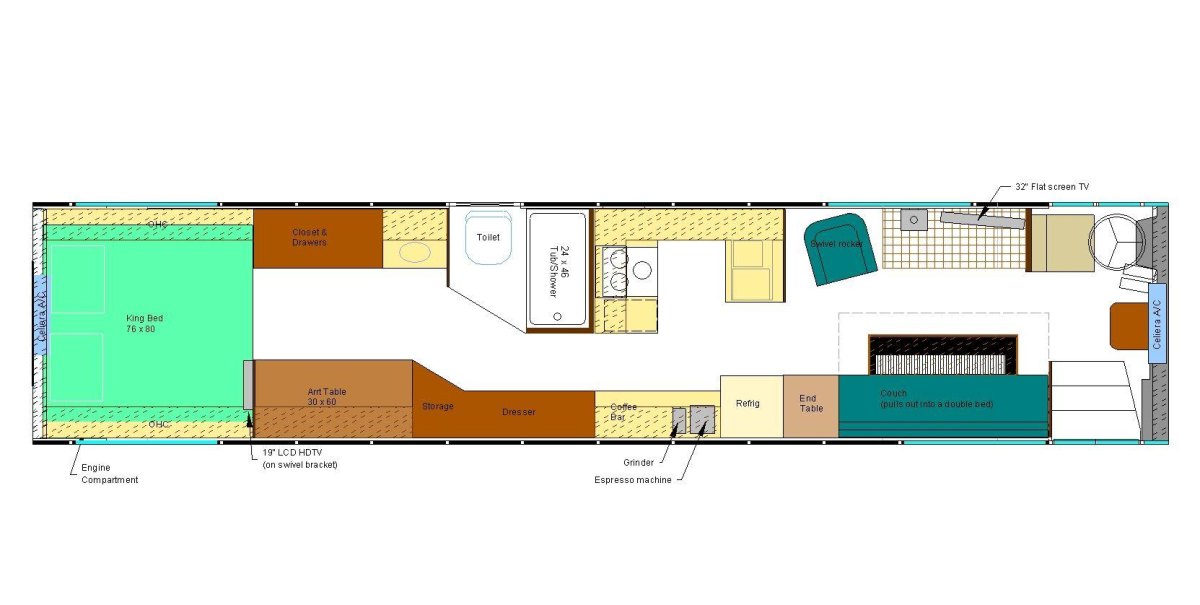
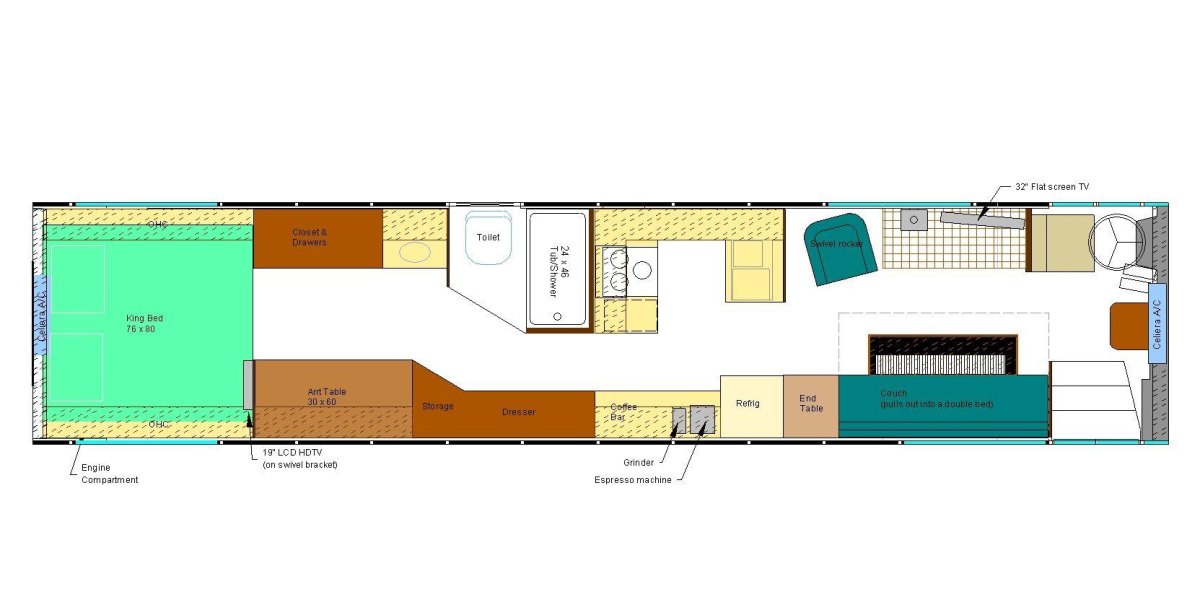
Before I touch a tool, I draw the interior and measure every fixed item. A bus has less usable space than the outside dimensions suggest, so I plan around wheel wells, doors, storage, and walking paths. Layout planners can help visualise beds, kitchens, showers, and electrical spaces before construction begins.
My layout checklist
- Decide sleeping, cooking, and storage zones first.
- Leave access space for repairs and maintenance.
- Check the weight impact of every major item.
I always recommend drawing the bus as it really exists, not as you imagine it. A realistic floor plan prevents expensive changes once cabinets and walls are installed.
Choosing the Right Bus for Conversion
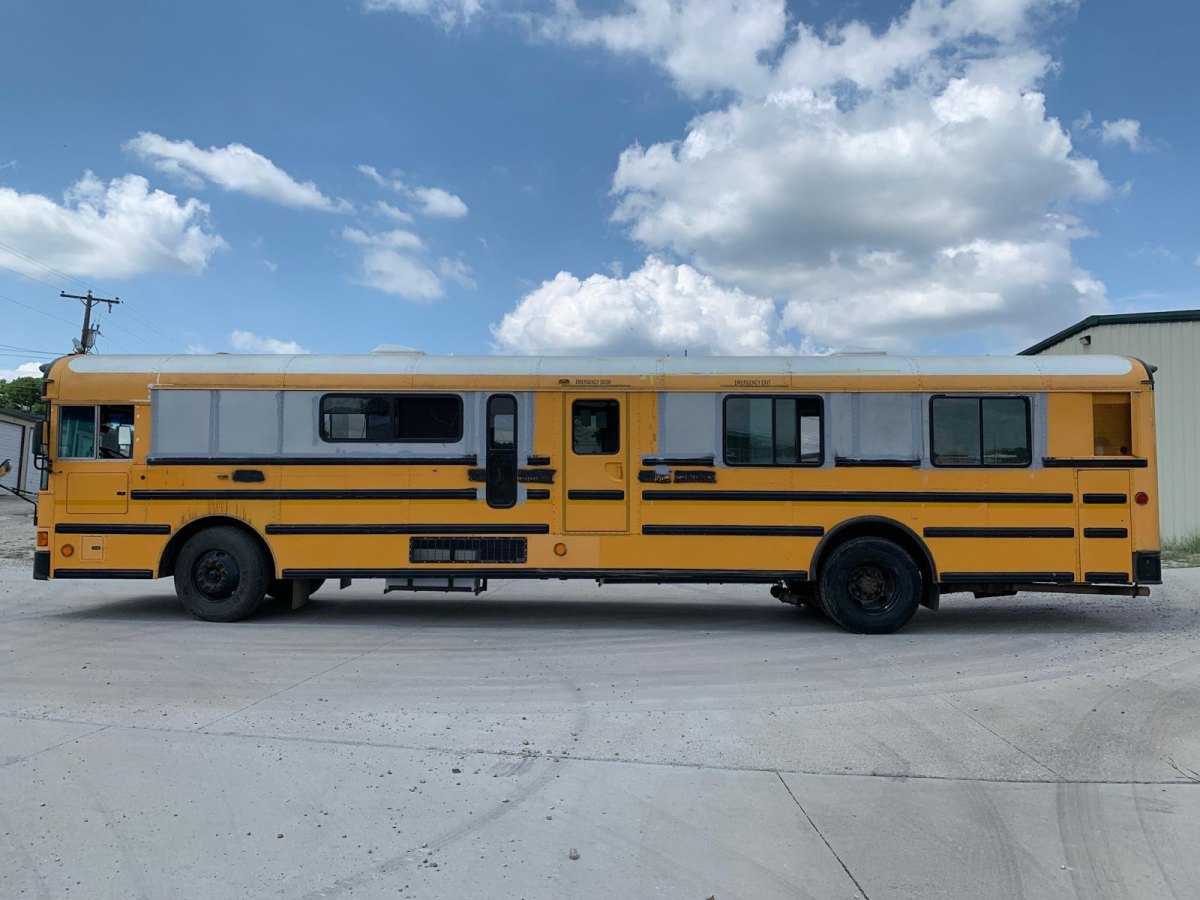
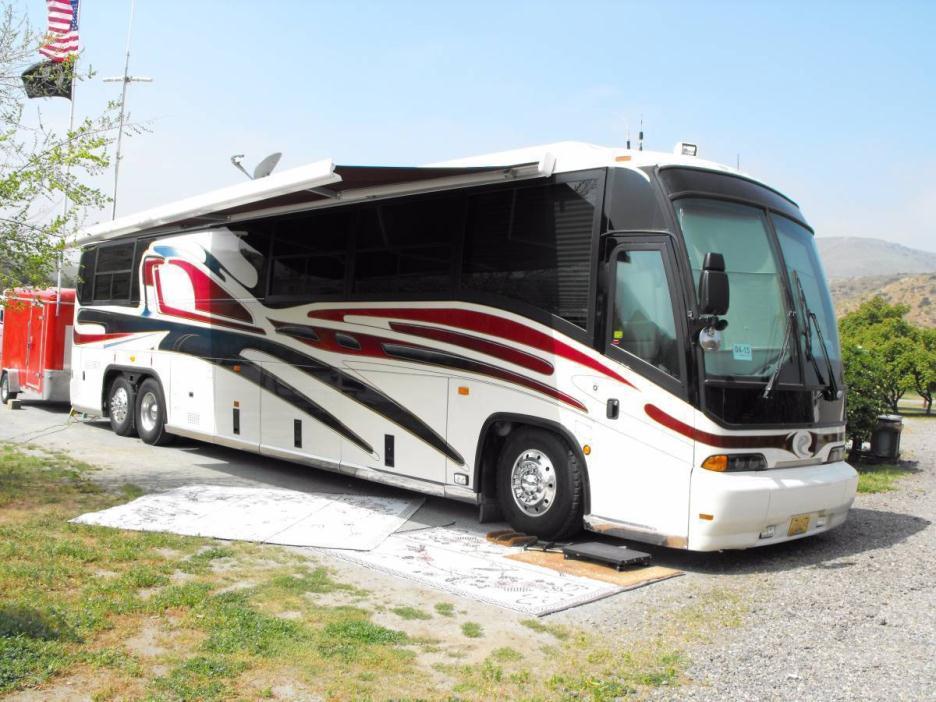
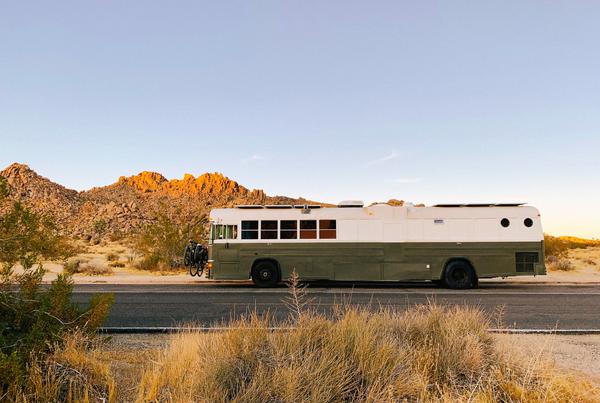
The best bus is not the biggest one; it is the one that matches how you will live. A solo traveller may prefer a shorter bus that is easier to park, while a family may need a longer body for separate living areas.
| Bus type | Best for |
|---|---|
| Short bus | Compact builds and easier manoeuvring |
| Full-size bus | Larger homes with more zones |
I would spend extra time checking rust, mechanical condition, and maintenance history because a cheap bus can become expensive very quickly.
Removing Seats and Preparing the Interior
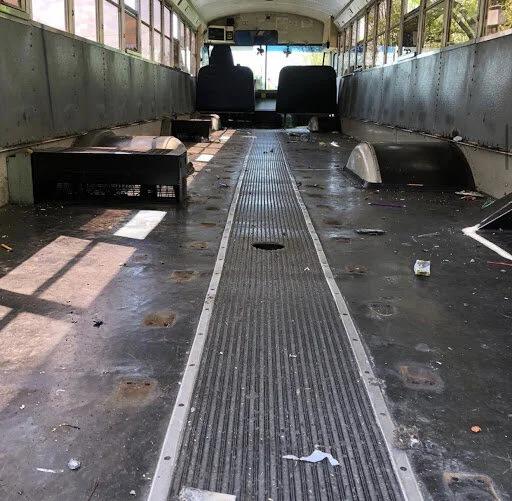
The demolition stage looks dramatic, but it is mostly careful work. Removing seats, old flooring, and interior panels reveals the real condition of the bus shell and gives you a clean starting point.
- Remove. Take out seats and unwanted fixtures while keeping hardware organised.
- Inspect. Check for rust, leaks, and damaged metal before rebuilding.
- Clean. Prepare every surface for insulation and framing.
I like this stage because it tells the truth about the project. The empty bus shell is where your actual conversion begins.
Installing Insulation and Interior Walls
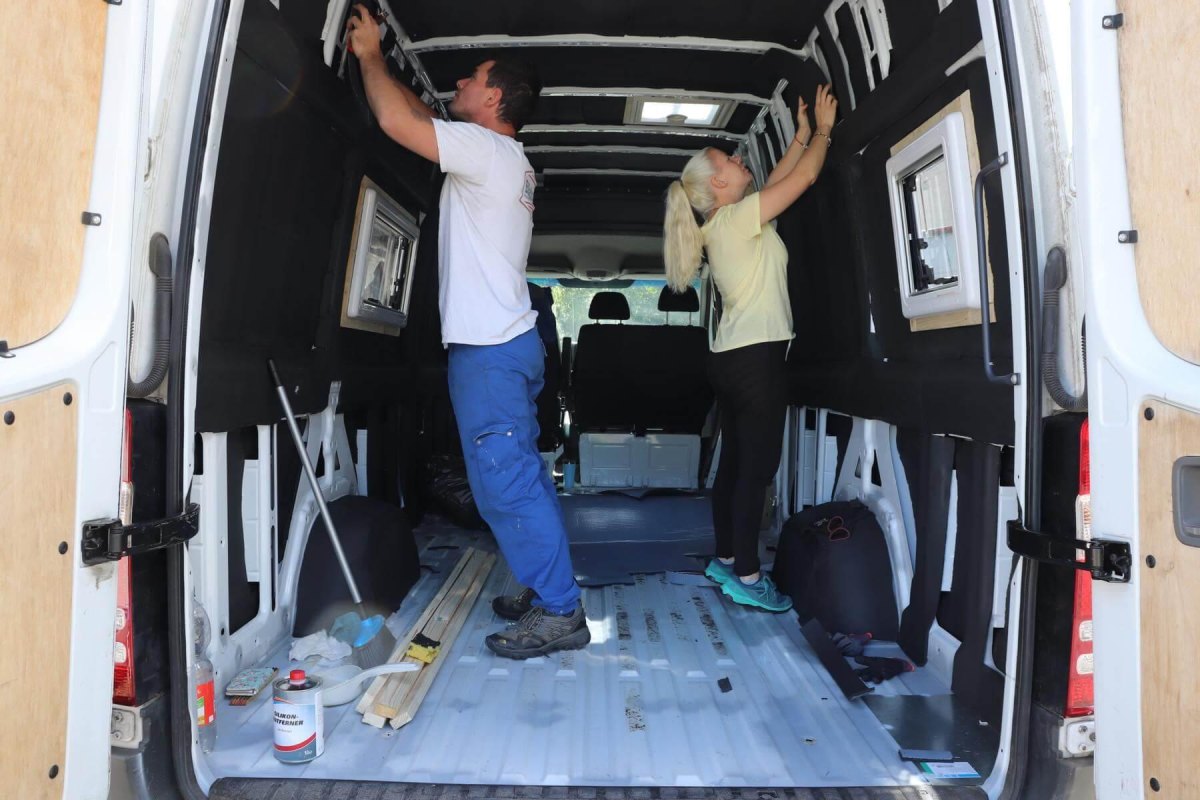
A metal bus changes temperature quickly, so insulation is one of the upgrades I would not skip. Builders commonly replace old insulation and add new materials before closing walls and floors.
Practical tip
Plan wiring and hidden systems before sealing walls because opening finished panels later is frustrating.
I focus on controlling heat, cold, and noise because a comfortable interior matters more than a pretty wall finish.
Building the Electrical and Solar System
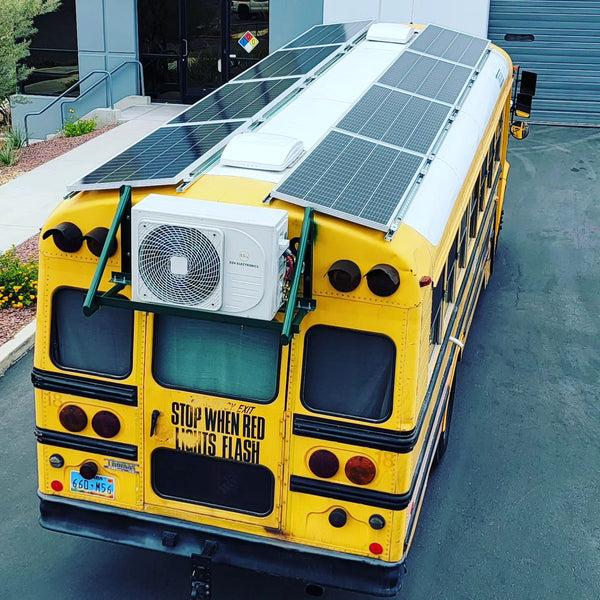
Power planning is where many first-time builders underestimate the work. Batteries, solar panels, inverters, appliances, and cable runs all need to match the way you actually use the bus.
- Calculate daily electricity needs.
- Use appropriate protection and safe wiring methods.
- Make future repairs possible with accessible components.
I treat electricity as a safety system first and a convenience system second. Reliable power design is worth taking slowly. RV electrical standards also emphasise safe low-voltage systems and installation practices.
Creating the Kitchen and Living Space
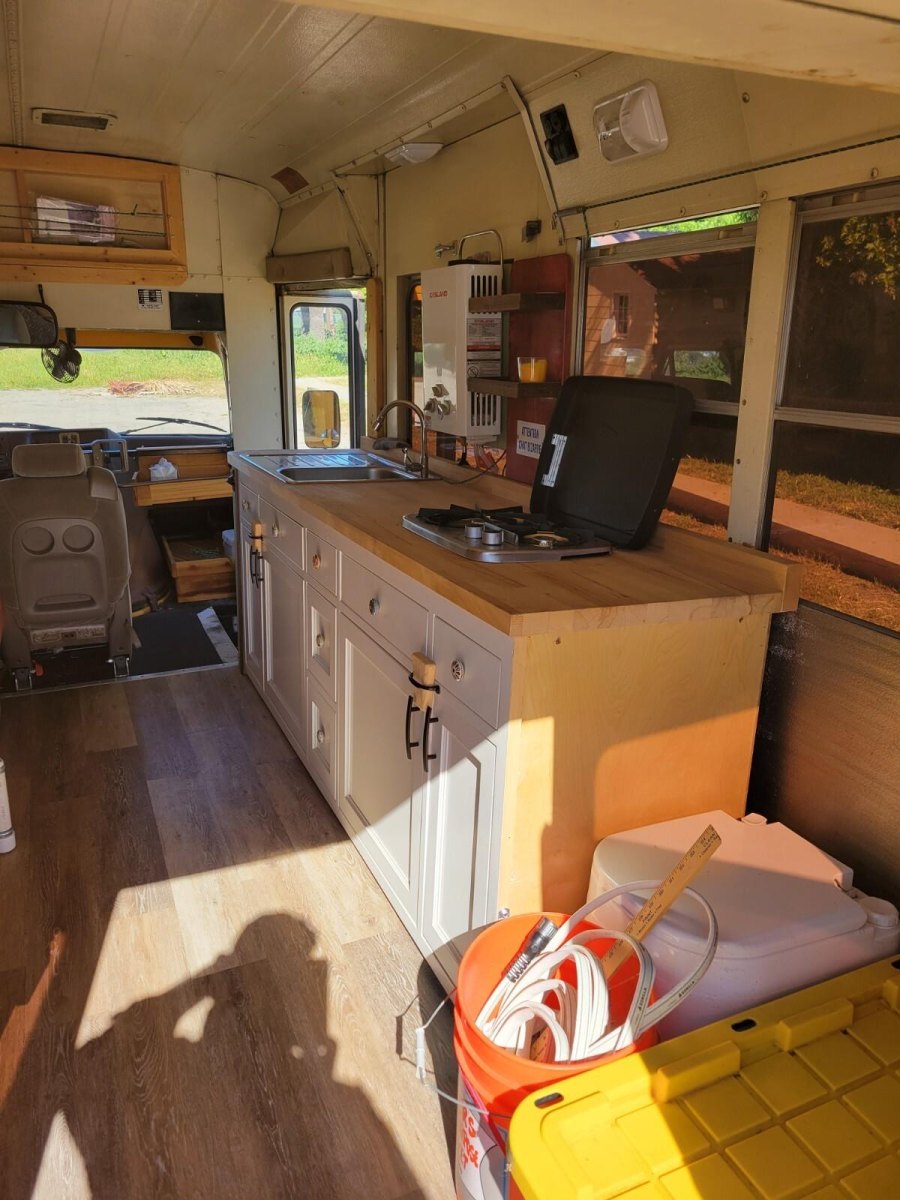
The kitchen and living area decide whether the bus feels like a home or a storage unit with a bed. I measure appliances first, then build around the items I will actually use.
Benefits of a compact design
- Less cleaning and maintenance.
- Better use of limited floor space.
Trade-offs to expect
- Smaller appliances.
- More careful storage choices.
I prefer a simple kitchen that works every day over an impressive one that steals walking space. Every square foot has to earn its place.
Adding Plumbing, Water Storage, and Bathroom Features
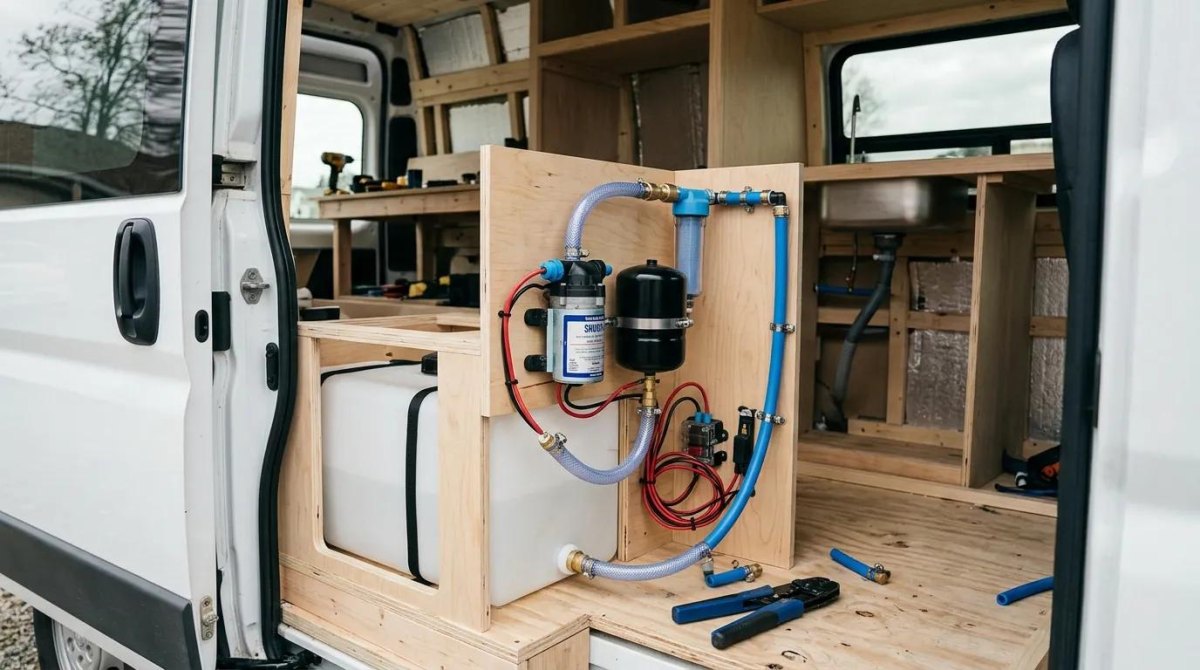
Water systems need planning because tanks, pumps, drains, and access points must fit around everything else. Plumbing should remain serviceable because hidden leaks are nobody's favourite surprise.
- Fresh water: Plan tank size around your travel style.
- Waste water: Make drainage routes easy to inspect.
- Bathroom: Balance comfort with available space.
I would rather have a smaller system that I understand than a complicated setup I cannot repair. Simple plumbing choices usually age better on the road.
Finishing Touches and Preparing for the Road
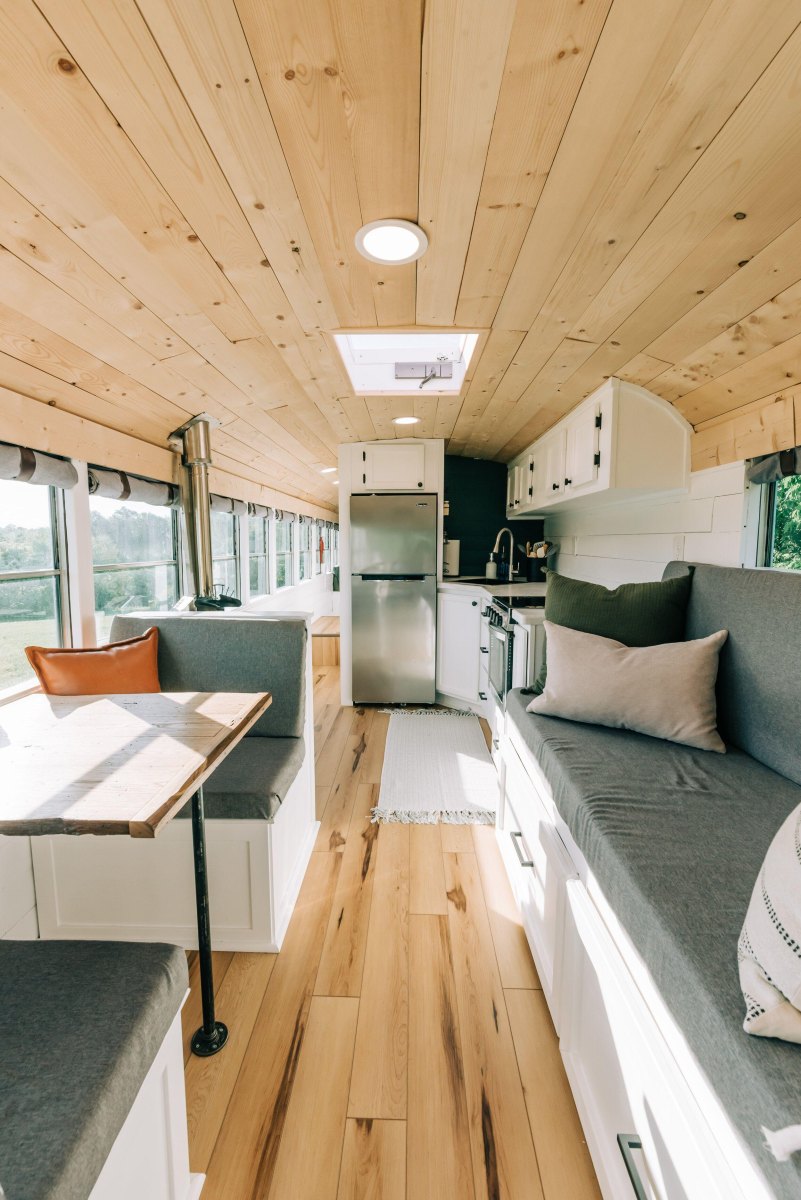
The final stage is where the bus becomes personal. Paint, lighting, storage details, ventilation, and small repairs turn a construction project into a living space.
Before the first trip
Test every system while parked: electrical loads, water flow, doors, windows, and storage security.
I would also check legal requirements for registration, insurance, and local rules before travelling. A finished conversion should be safe, documented, and ready for ordinary problems.